Repair Kits for Backpacking & MOUntaineering
BY: ZACK MCGILL
Gear, no matter how well you take care of it, will eventually wear out and break at some point. If a key piece of gear breaks while out on a multi-day trip outside, having the ability to repair that key gear is essential. Things can get ugly or at least very uncomfortable quick if you snap a tent pole, get a hole in your sleeping pad, or break a belt buckle and you don’t have anything to fix the issue.
Since I spend a lot of time working and playing outside, I see a lot of gear fiascos. This resource is geared towards multi-day adventures in the spring/summer/fall when folks are backpacking, mountaineering, and climbing. We have a separate in-depth resource on Backcountry Ski Repair Kits that details what we recommend carrying for that activity and how to utilize the items in the kit if you’re a winter traveler.
What to Carry
Weight is always something I’m conscious of, especially as I get older. I want to carry an adequate amount of repair and rescue equipment, but not so much that it hinders my ability to move efficiently in the mountains. The following is what I deem the essentials for overnight trips. These items will get you through 99% of the more common gear fiascos. An important note here is that my recommended kit is designed to put a “band-aid” on an issue to be able to get through the rest of that specific trip, but not necessarily provide a permanent fix. After getting out of the field, seeking out more robust repairs or modifications by a pro at a local gear repair shop is advisable. More on that later.
The Bare Bones Kit
P-Cord – I always carry about 30-40’ of lightweight para cord. So many uses for light weight cordage. Snap a shoelace or tent guideline? Rather than trying to tie the frayed and broken one back together with a knot, you can just replace the whole thing with fresh cord. Need to extend an existing tent guideline because it just won’t quite reach what you want to anchor to? You can add a bit more using your spare. Snap a strap on your backpack or need to tie together something? Oh wow… you’ve got some cordage!
Extra waist belt buckle – If you’ve ever carried a heavy backpack without a waistbelt, it sucks. You’re supposed to carry the majority of the weight of your backpack on your hips, but if you accidentally step on your fragile plastic belt buckle, that’s tough to do! An extra buckle is super specialized, but so worth it if the alternative is lugging your backpack out on your shoulders.
Tent pole shim – Tent poles are made of lightweight metals and though they are made to bend, under extreme winds or even just repeated bending, they can snap. Without a shim, you’re left trying to use something rigid like a stick and tape to splint the pole, which is time consuming, sticky (pun very much intended), and tough to break down and pack up. The pole shim is pretty light weight, fast, and easy to implement.
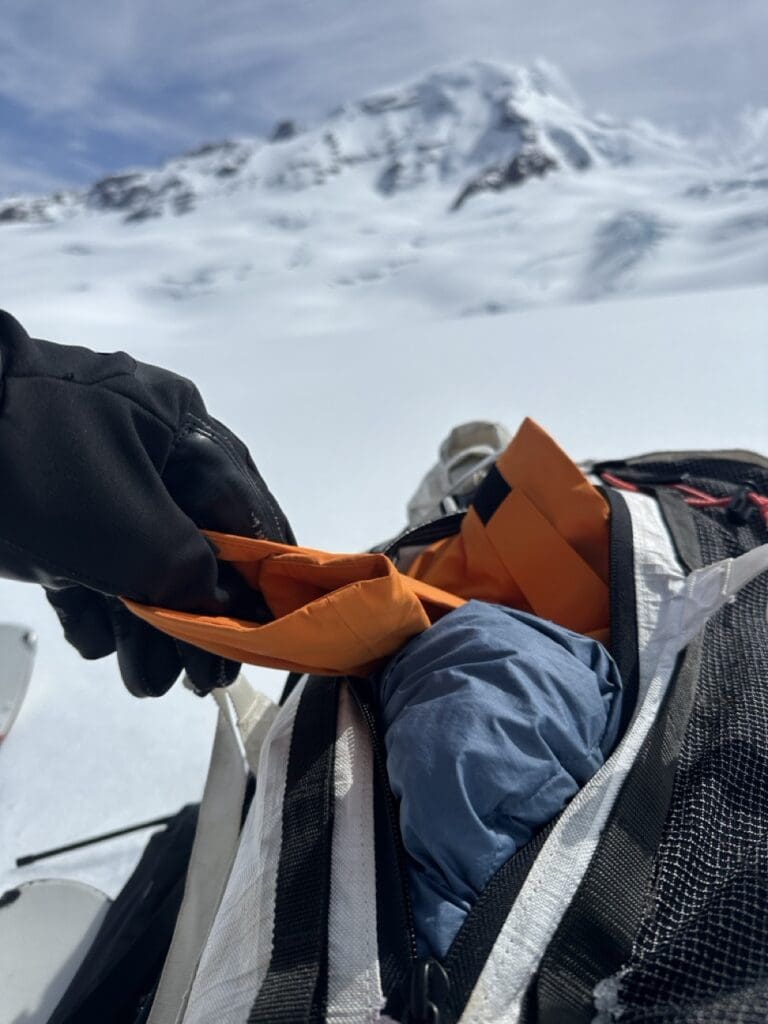
Gear Aid Tenacious Tape – Ripped clothing? Torn tent? Hole in your backpack? Cutting out a piece of tenacious tape and slapping it on isn’t a permanent fix, but I’ve had tenacious tape patches on pants (even put them through the washer dozens of times) and the patch is still there. This stuff is fantastic. It also doesn’t leave the gross residue of duct tape behind after being removed. If you do use duct tape for a quick fix and then try to bring it into a professional gear repair shop, they will hate you. For real. They may not say it to your face, but they will hate you. Do yourself a favor and get some tenacious tape.
Pro Tip: round the corners (I carry mini trauma sheers in my first aid kit and they are great for cutting) as you cut out the patch. This will make it stay on way longer!
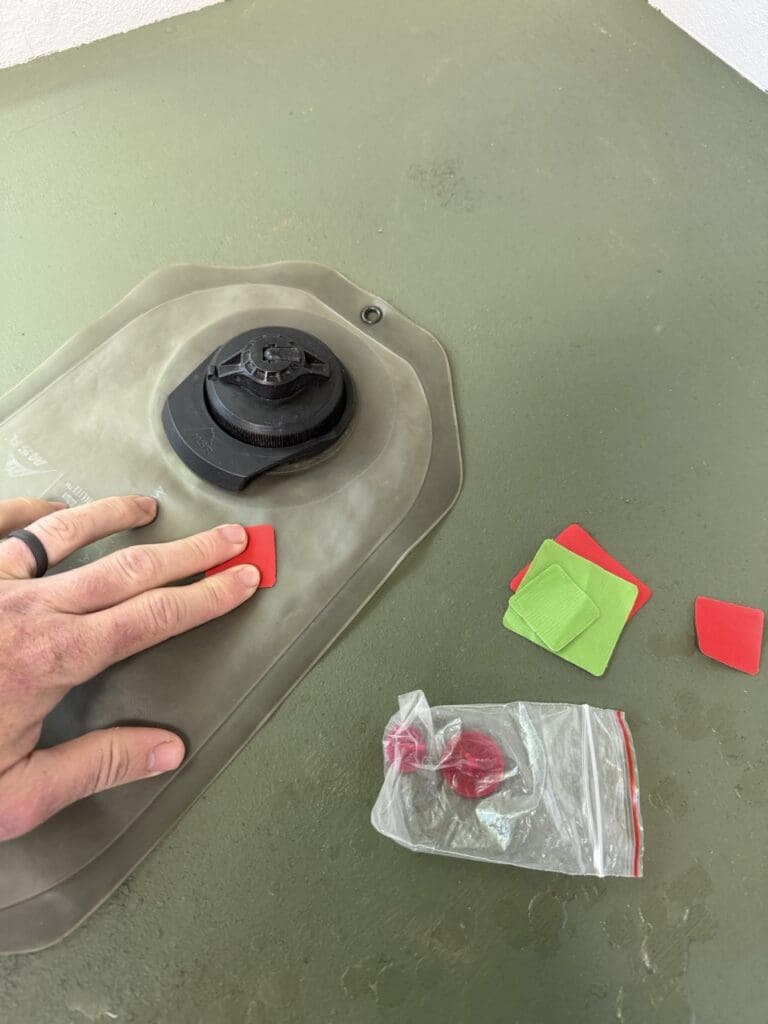
Sleeping pad repair patches – If you use an inflatable air pad, it should come with a few repair patches in case you bust a hole in it. These patches are great to carry not only for the air pad, but they are also great for shoring up holes in anything that needs to be water or air tight. If you’re like me and prefer a dromedary bag or camelback for water over a hard sided water bottle, it’s a huge bummer when you poke a hole in your water supply. Water is essential for life turns out and being thirsty sucks. Well, those repair patches for inflatable air pads are excellent for blocking punctures to drom bags as well. In a pinch, you could also use them for a hole in your tent fly or tent or even a torn or punctured waterproof jacket.
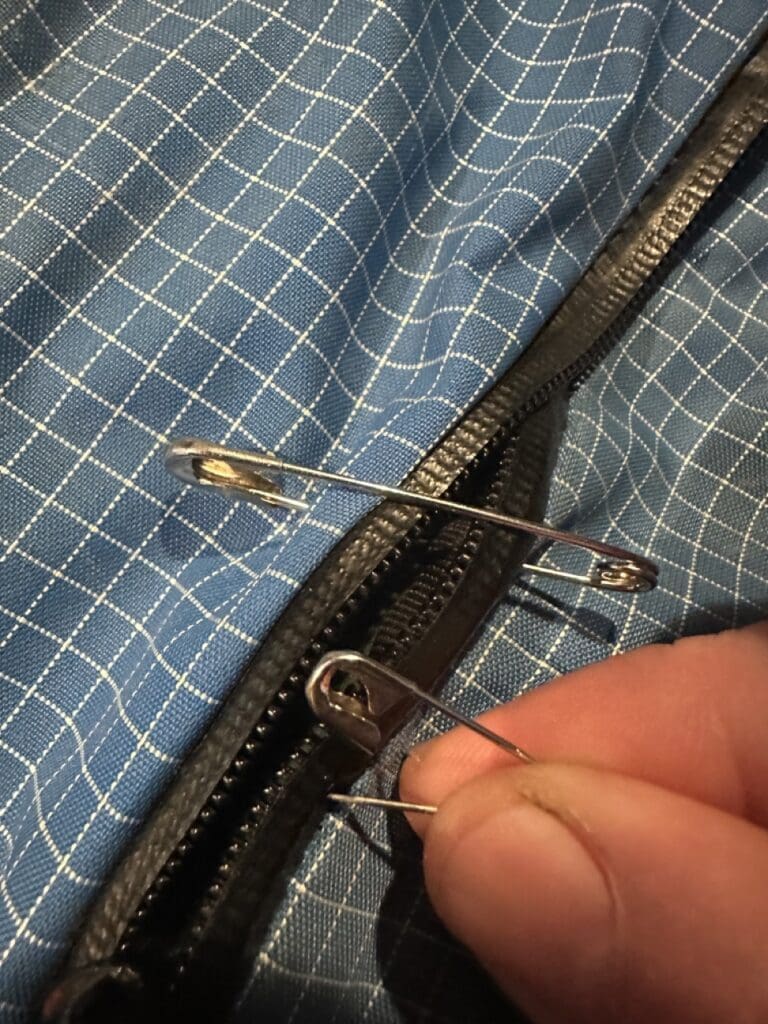
Safety Pins – These come in most first aid kits already, so no need to throw in more if you have 3-4 of them somewhere. For gear, I carry these in case a zipper breaks on a jacket, backpack, or tent or a piece of clothing gets a large tear in it that is bigger than the tenacious tape is able to cover. Many backpacks now have side zippers or full back panel zippers. If one of these breaks, then the entire contents of your backpack is now spilling out. Safety pins will at least allow you to keep things closed up enough to get out of the wilderness.
Knife/Multitool – This one should be pretty obvious. Have a knife to cut that p-cord, tenacious tape, or anything else that needs cutting. Having pliers to grab on to finnicky metal parts, help bend something, or roast your bagel over the stove is also pretty nice.
That’s the bare bones kit! Robust enough to slap a fix on most of the more common gear issues, but light and compact enough to be carried every time. It’s great for trips up to 4-5 days. If you’re out on a longer expedition, or just like to be prepared, there’s some other items you should consider bringing.
Additional Repair Kit Items
Stove repair items – You should know how to do basic field repairs on your stove and carry those spare items with you. Often with stoves today, it’s as simple as carrying some extra o rings. If you are utilizing an MSR Whisper lite or similar stove that requires using liquid gas, you’ll need to carry a few more repair items (like an extra pump) specific to that stove and also know how to take the stove apart and clean it in the field. Cold dinners and coffee is already crappy, but if you’re going on a mission where your only water source is melting snow, losing your stove goes from an annoyance to an emergency.
Sewing kit – On longer expeditions, I’ll often choose to carry some needle and thread to actually do some basic sewing. That way, if I get a rip in a piece of clothing or my backpack, I can do a more robust and permanent fix rather than just relying on my safety pins and tape.
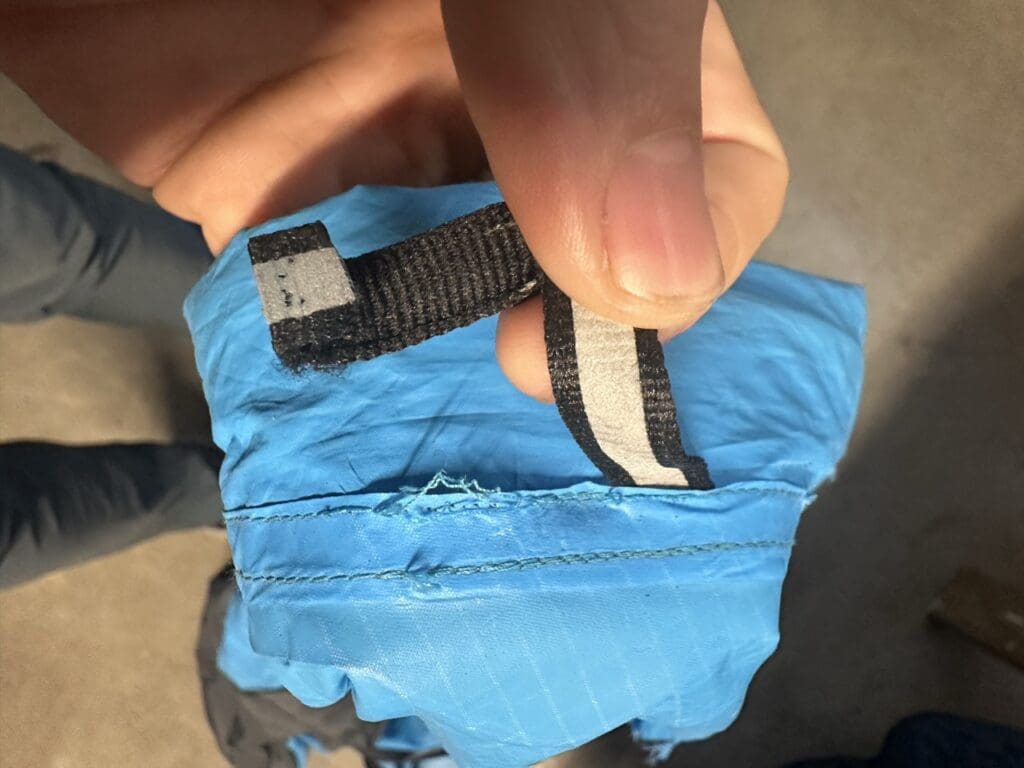
Zipper repair kit – Similar to the sewing kit, on longer expeditions I also bring some extra zippers of the appropriate size for what I’m carrying for tent and clothing items to replace broken ones. Though the safety pins work as a band aid, it’s pretty great to have a working zipper. Also, if it’s the zipper on your really expensive Gore-Tex hard-shell jacket that breaks, it would have to be really stormy out for me to put any safety pin holes into that jacket.
Aquaseal – Another great product from Gear Aid is Aqua Seal. On longer trips, I’ll carry a small tube of it. This way, if I have a puncture in my tent, hole in my water drom, or have a shoe or boot that is delaminating, I can do a more permanent fix by applying Aqua Seal rather than just a patch or tape.
Gear Care, Repair, and Modifications
More and more I find that being proactive in regards to gear care, repairing rather than replacing, and modifying existing gear to fit my needs rather than buying a new product is not only more economical, but better for the environment and the local economy to boot. Living in Bellingham, I have access to multiple local businesses that make gear care, repair, and modifications easy, but I’m sure if you do a quick search, you’ll find similar resources in your area!
Gear Care
For all my gear care products from resealing tent seams, to washing my down jackets/sleeping bags, to re-waterproofing my hard shell, I turn to Gear Aid. They’re not only a local company, but they make the very best in outdoor equipment care and repair items.
Beyond products, gear care comes down to being proactive! Here’s some common ways to make sure your gear lasts:
- Lay out wet gear so that it dries completely before storing.
- Don’t store down items like puffy jackets or sleeping bags (or any clothing items really) in stuff sacks. Hang them up.
- Clean dirt/oils off of technical equipment early/often. This means running your waterproof jacket/pants through the wash with tech wash cleaner. This will allow the non-PFAS water repellent to do its job.
- Take batteries out of headlamps or anything else that you’re putting away for longer term storage at the end of a season. Batteries are nasty and corrode.
There are many more ways to be proactive, towards gear care, but I’ll leave it there. If you aren’t the get it done right away type, you can do what Kira at Gear Aid recommends and leave yourself a note so that you at least remember that a repair needs to happen before you get to the next time you want to use that item and forget that it’s broken!
Gear Repair
Once you’re limped your way back to the trailhead with your broken gear, you’ll want to actually get it repaired. Clothing, sleeping bags, and backpacks are all relatively straightforward to repair. Be it a broken zipper, busted seam, or hole, taking an item to a repair shop doesn’t cost that much (definitely cheaper than buying a brand new thing) and the item will likely come away better than before. Pros like Ruby at Phenix Threads have an eye for the little details and can recommend a more robust zipper or piece of fabric than what was there before.
Gear Modification
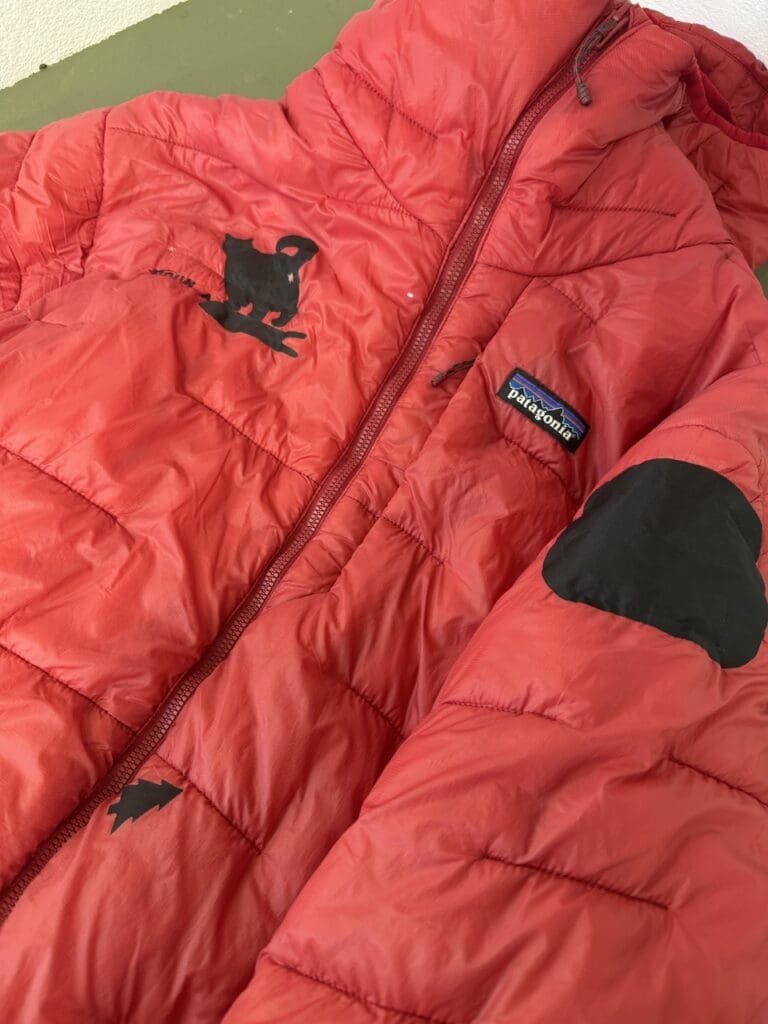
If you’ve used a piece of gear for a while, you’ll likely have a lot of memories and nostalgia attached to that item. You’ve probably also learned a thing or two about it and have some things you wish it had. Backpacks are notorious for this to me. I get a backpack that has some of the features I like and fits great, but is missing things like a side zipper or a place to carry technical ice tools. Rather than going out and buying another backpack, just go see a pro in gear modification and custom builds and they can help you figure out how to make the equipment what you want. Or, you can even just have them design a pack or article of clothing to be what you want to begin with. The backpack below, for instance, didn’t have a side zipper, so I had Ruby give me one!