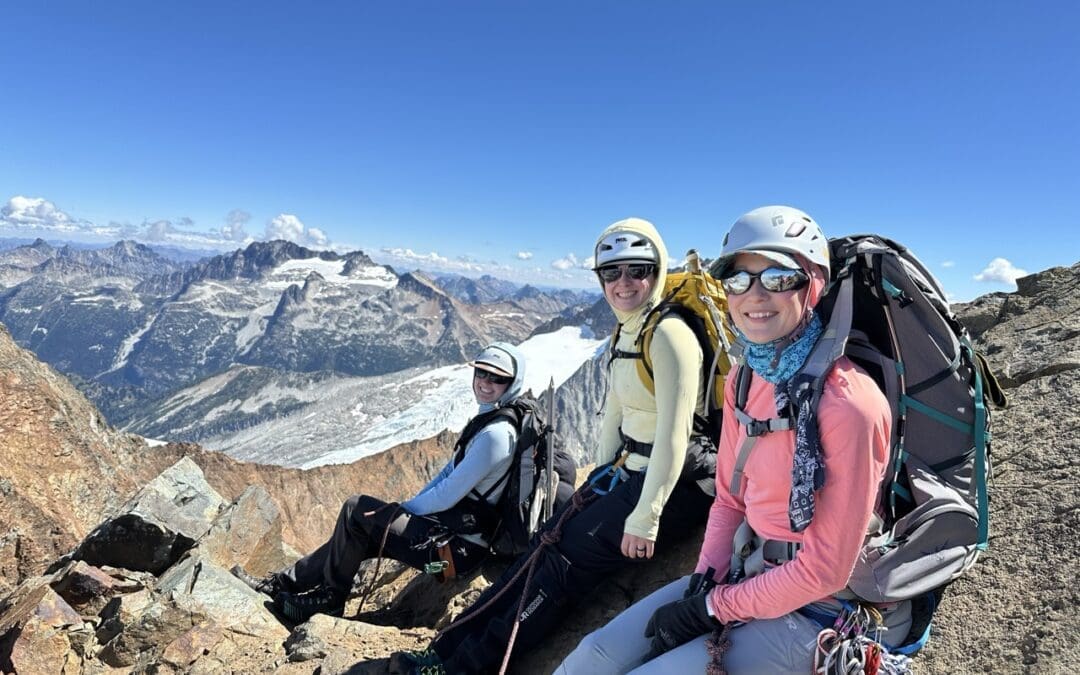
How to Pack a Pack for Multi-Day Mountaineering Objectives
By: Zack McGill
Learning how to pack for multi-day mountaineering objectives can seem daunting at first, but have no fear! This resources walks you through a simple pack packing system to ensure you are dialed in before you reach the trailhead.
Packing a pack for mountaineering, like most things, comes down to learning a system and then repeating the process until it becomes second nature. Presented in this resource is a simple acronym to help you remember the most important points (ABCD) as well as some pro-tips and extra considerations.
Gear Lists
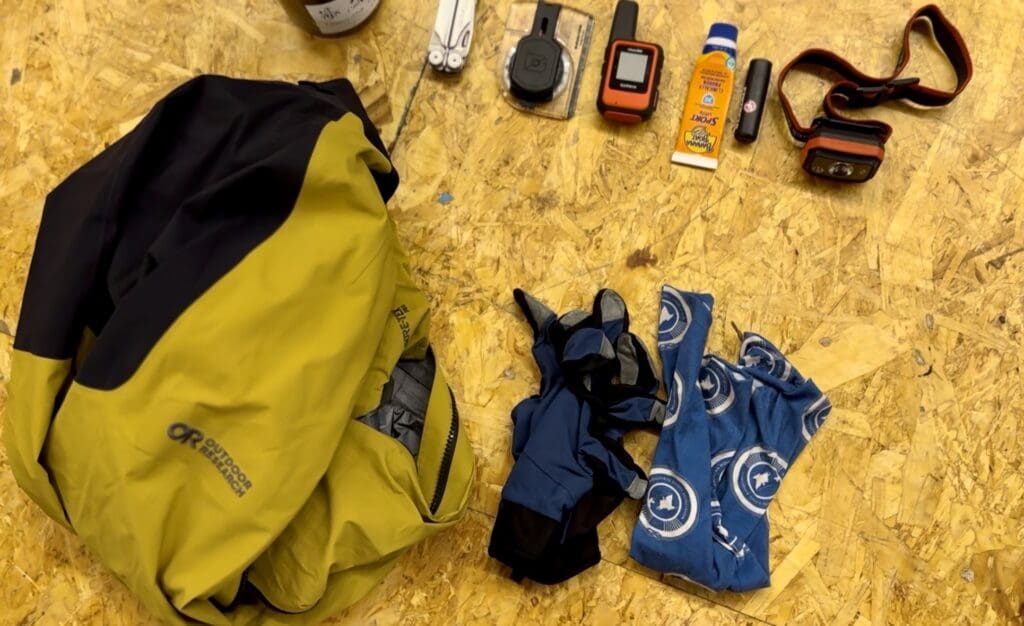
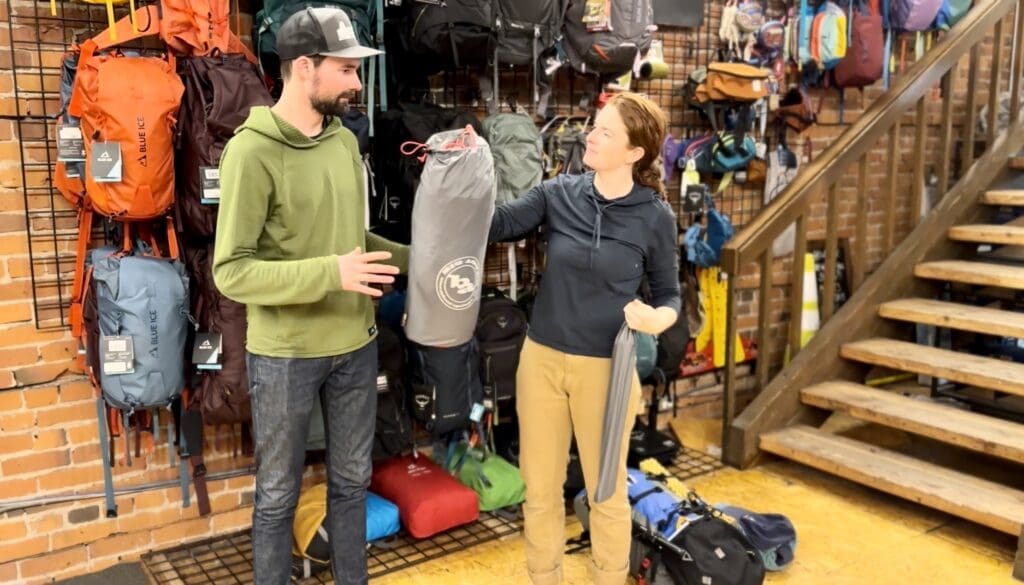
Before you begin packing, you first need to get all the gear you’re hoping to fit into your pack together in one place. Utilizing a gear list is the best way to make sure you have everything you need and aren’t forgetting something. If you’re going on a guided adventure, you should already have a gear list to work off of. If you’re putting together your own gear list, here’s a general gear list to help get you started: General Mountaineering Gear List.
Arrange your items into like piles. For instance, have you sleep system items all together (sleeping bag, inflatable pad, foam pad, bag liner) and then your climbing equipment in another pile (helmet, axe, harness, crampons, etc.). This makes it easy for you to go through the gear list and physically check items off the list.
Pro Tip: Print off the gear list and actually check items off physically. It’s a bummer to forget something.
The ABCD’s of Packing
Now that you have everything laid out and ready to go in your pack, let’s get into how to make that happen. Thankfully, that’s as easy as remembering ABCD.
Accessibility
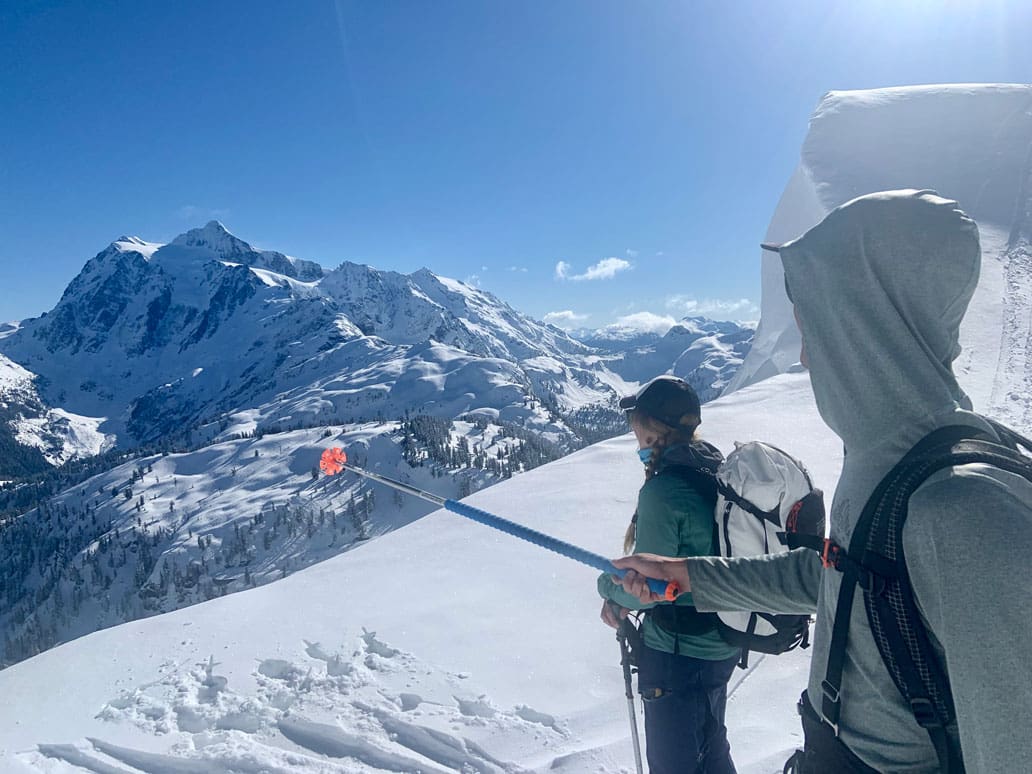
“A” stands for accessibility. Think about which items you’re most likely to need for the day and want accessible (ie. not buried deep in your backpack). Common items include:
- Sunscreen and Lip Balm
- Extra layers (hard shell and warm layer)
- Gloves
- Water
- Snacks/Lunch
- Sunglasses
- Neck Gaiter
- Trekking Poles
- Personal First Aid (blister care, NSAIDS, prescription meds)
- Pee Cloth (Kula Cloth)
- Menstrual Care (Moon or Diva Cup)
- Radio
- InReach or other satellite comms
Set these items to the side in their own pile. They get packed last so that they remain accessible on trail. These are the items that can go in hip zipper pouches, the brain of your pack (top lid), or external pockets.
Pro Tip: Ensure as much as possible that items that you might need while walking are accessible without having to stop and take your backpack off. At least have them in a place where you can ask a friend to grab them for you.
Balance
“B” stands for balance. There’s no better guarantee for back and shoulder pain than an unbalanced pack. If you load too many heavy things towards the top of your pack, it will be top heavy and pull you backwards.
If you pack heavier items on one side of your pack and lighter items on the other, your pack will be side heavy and pull you sideways.
Instead, we aim to get things as perfectly balanced as we can.
To achieve this, we want to put the heaviest items in the center of the pack just above the hips. Steel crampons, food, rechargeable batteries, pots/.stoves, ropes, and carabiners/hardware are all items that usually weigh he most. Consequently, be cautious not to place these items too high in the pack or on one side without putting something of equal weight on the other.
Pro Tip: Put your sleeping back/air pad in first to create something cushy right on your hips and then stack your heaviest items right on top of that plug of cushion.
Compression
“C” stands for compression. Many of the items we take into the mountains are bulky. To get them to all fit, we must achieve maximum compression for items we want to compress while protecting more fragile items from getting the squash. To achieve this, all the items in your pack can be sorted into two categories: bricks, or mortar.
Brick items are hard items that can’t be compressed. Examples of these items include:
- Stoves
- Pots
- Fuel
- Crampons
- Tent Poles
- Snow Pickets
- Ice Screws
- Mountaineering Boots
- Water Bottles
- Carabiners/”Clippy Bits”
- Climbing Helmet
- Rechargeable battery
- Headlamp
- Bowl
Mortar items are soft goods that can be crushed and molded to fit in between or inside “brick” items. Examples of mortar items include:
- Tent body
- Vestibule
- Layers (jackets, pants, gloves, etc.)
- Sleeping Bag
- Ropes
- Insulated booties
- Toilet Paper
- Poop Bags
As you pack, look to place smaller brick items inside larger ones. For instance, you can place your headlamp inside your bowl or cooking pot along with isobutane fuel and/or the stove. If there’s any extra space or gaps inside a brick item or between brick items inside your pack, fill that space with mortar items.
Pro Tip: Use stuff sacks selectively. Cramming a bunch of layers that would be “mortar” items into a stuff sack just creates another “brick” item. Instead, keep layers out individually so they can be used to fill smaller gaps. Don’t worry about crushing clothing up, we’re mountaineering, not going to a wedding… perfectly crisp clothing looks weird out there.
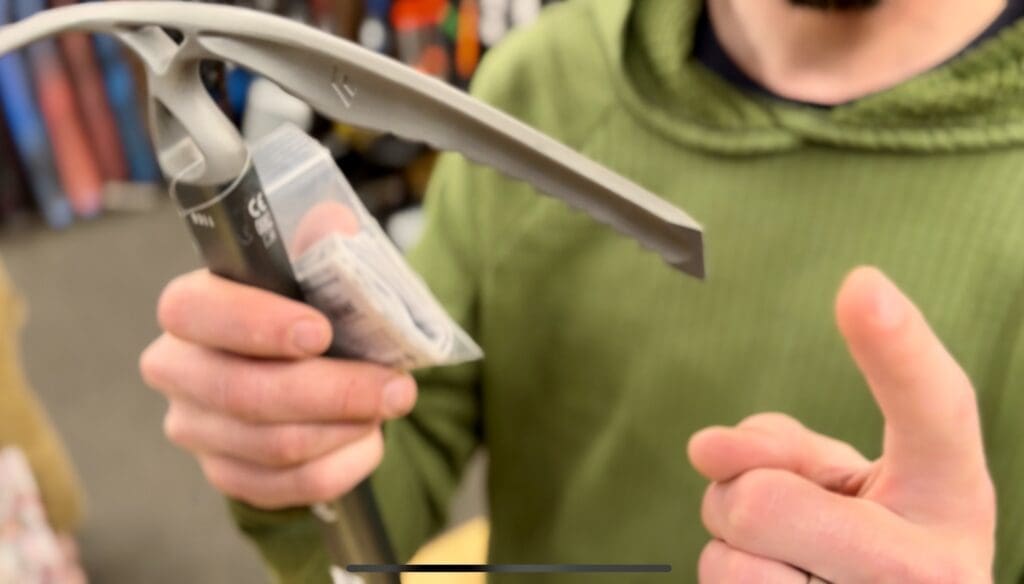
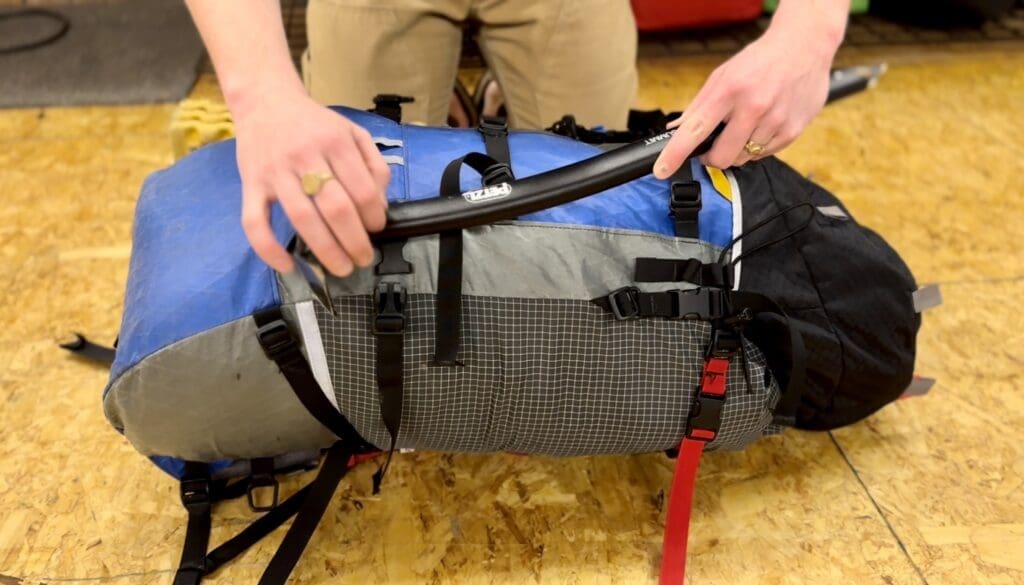
Danger/Danglies
“D” stands for Danger/Danglies. These are items that are dangerous to you/others if packed improperly. This includes sharp items, chemicals/fuel, waste (poop and garbage), or any item that is clipped on to the pack loosely so that it sways. Examples of these items include:
- Ice Axe
- Crampons
- Fuel (Especially white gas)
- Tent poles
- Wag bags/poop bags
- Tents.
- Snow pickets
- Shovel
- Ice Screws
The general rule for pack packing is to try and get most everything inside the backpack as possible and reduce the number of danglies on the pack. Packs with lots of things hanging on the outside are the tell tale signs of a novice packer.
That said, there are certain items that should be packed on the outside so they don’t damage items on the inside of the pack. Sharp items like your ice axe, snow pickets, and/or crampons are perfect examples of this. Though these items are often packed on the outside, they still need to be secured tightly and appropriately given the provided strap system for the pack so they don’t come off the pack and get lost or sway around to injure others/yourself.
Nasty items you don’t want spilling on your clothing or food (like white gas or human waste) should also be packed intentionally and with care. Nothing worse than a burst poop bag. Oof.
Pro Tip: Place used wag bags in an external pocket of your pack away from any other items. Think worst case scenario and ensure if it bursts, that the worst that’s going to happen is you’ll get poop on a pocket that you’ll have to wash… so many times. Don’t have a pocket? You can place the double bagged goody under a climbing helmet and strap that to the outside. That way the helmet is there to protect your landfill present from impacts.
Other Considerations
The ABCD’s of packing a pack for mountaineering provides some great general guidelines to work from and a repeatable system. As always, there are other considerations to further dial in pack packing. Below are some of those considerations.
Weather Proofing Packs
Many backpacks made for backpacking and not mountaineering specifically come with pack covers. These covers are designed to fit over the outside of backpacks in case of wet conditions to keep inside items dry. We at Cascade Mountain Ascents strongly discourage the use of pack covers to weather proof packs in the mountaineering context for two key reasons:
- We carry sharp things on the outside of our packs. In particular, ice axes, snow pickets, and crampons. These items have numerous sharp points that can catch and tear pack covers if there’s any sort of wind, which, in the mountains, is most always.
- Speaking of wind… pack covers can blow away! We’ve seen many blow away on a windy day in the mountains to become garbage and an eyesore on the landscape. If they blow away, bye bye weather proofing!
Instead, we’re big proponents of lining the INSIDE of your bag with a heavy duty (non scented) garbage or contractor bag. This creates a truly waterproof barrier to then pack everything else inside of that can’t blow away or be ripped by the sharp things on the outside of your pack.
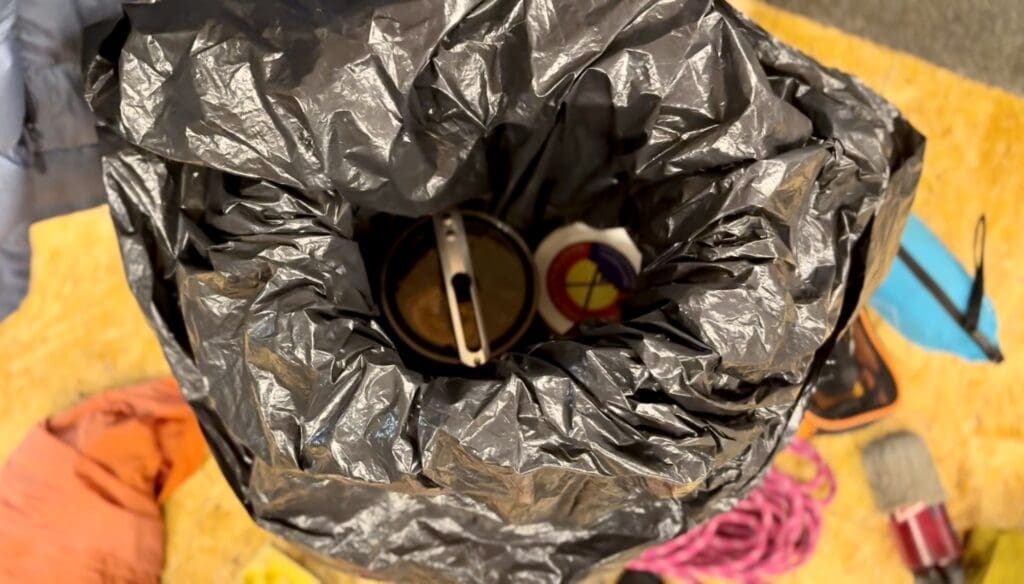
You also get the added benefit of having a bag to utilize at camp to keep things dry. This is particularly useful in moist environments like the PNW where condensation at night can make everything on the inside of your tent not inside a bag wet.
Pro Tip: Did we mention don’t get a scented compacter bag? Seriously, don’t. Ensure your bag liner is UNSCENTED!
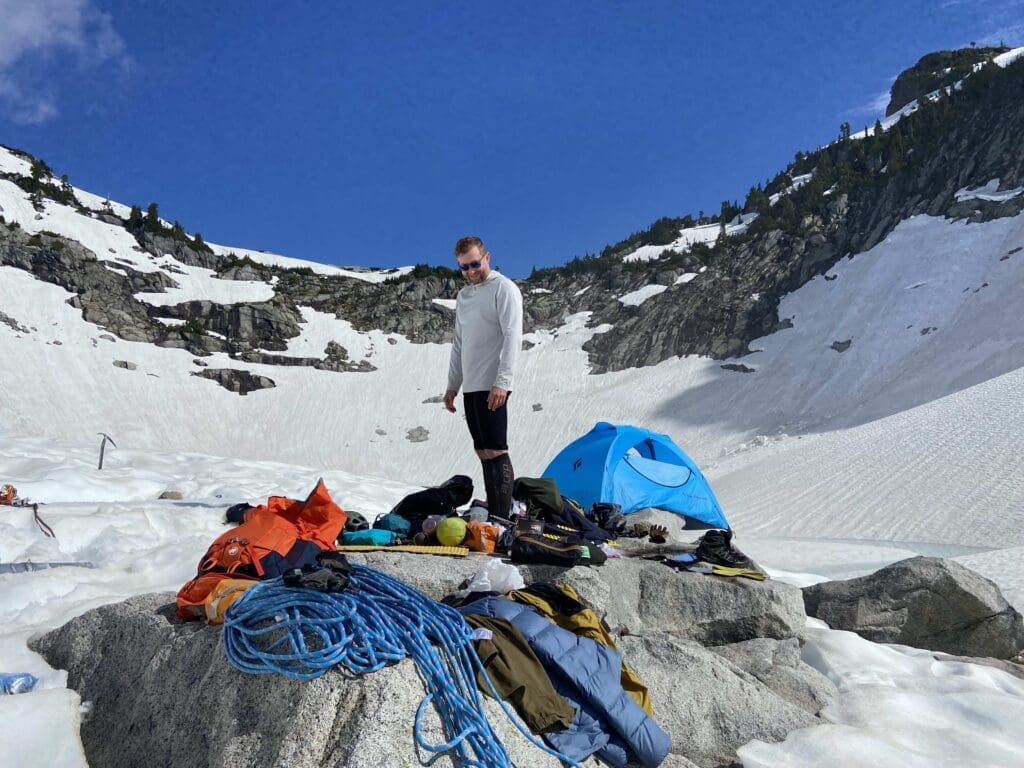
Group vs Personal Gear
When packing, it’s good to think about what items are group gear items, and which are personal. Examples of common group gear items include:
- Repair Kits
- First Aid Kits
- Ropes
- Protection (snow pickets, SLCDs, ice screws)
- Tents
- Stoves/Pots/Fuel
- Water Purification
Sometimes even items like snacks, toilet paper, hand sanitizer, and sunscreen can be group items. Why make the distinction? Because every ounce matters. Does everyone need to carry a big bottle of sunscreen? Heck no. Just bring one big bottle and share or get little bottles for everyone. Similarly, not everyone needs to carry a repair kit or massive first aid kit. Just carry some personal repair/first aid items and then have one larger more inclusive kit for the group that someone takes as gear.
Equal vs Equitable
It’s usually easiest to split up group gear items into roughly equal piles. For more bulky group items like tents, for instance, it’s nice to split up the load: one person carries the tent body while the other carries the poles and fly.
This is great if everyone is fairly equal in their fitness, strength, and body type. Usually, however, group members have a diversity of backgrounds from previous injuries, to physical fitness, to how tall they are. So instead of doing the easiest thing (making similar piles that weigh roughly the same), it’s best to try and be equitable.
Equitable means taking into account the differences in group members and being realistic about how much or what kinds of items are appropriate for folks to carry based on who they are. Should someone who’s 5’4″ and weighs as much as a deck of cards on a windy day carry the same amount as the 6’5″ line backer for the New England Patriots? Heck no. That may be equal, but it’s certainly not fair.
Final Thoughts
If all this is still a bit overwhelming, that’s okay! If you’re showing up on a trip or course with us, we’ll be there to help you pack your pack for your overnight mountaineering endeavor and provide some mentorship in the endeavor. Not going with a guide? Hopefully this resource helped to provide some structure for you to think about as you pack.
Like anything, pack packing takes repetition and time to get good at. Eventually, you’ll have your systems so dialed that you can pack your pack in minutes. Until that time, keep printing those gear lists and have at least one other person double check with you that you have all the right equipment!