Splitboarding: The Answer to All of Life’s Problems (Except Avalanches)
By Michael Bartley
What is splitboarding?
As skiing and snowboarding are growing in popularity, ski areas all over North America are seeing an uptick in attendance, as well as surging costs of season passes and lift tickets. This overcrowding and rising prices are causing skiers and snowboarders alike to push into the backcountry in order to pursue untouched snow and new terrain.
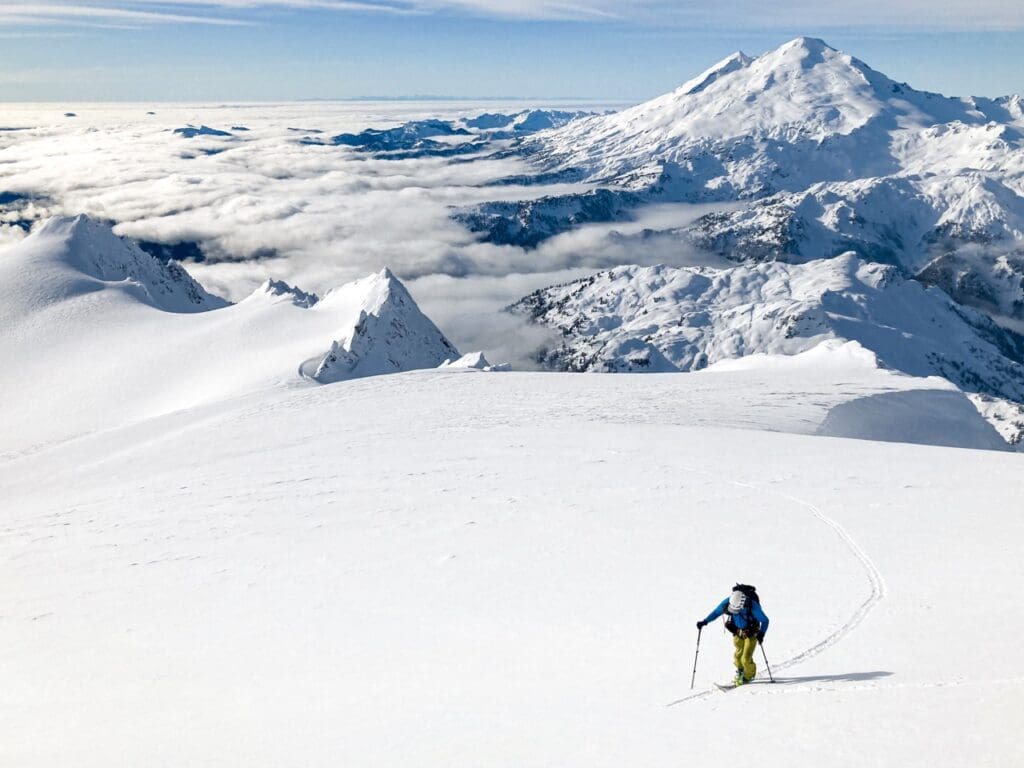
Skiers have long been able to enjoy backcountry pow turns. Snowboarders, on the other hand, have all but until recently been confined to ski areas or backcountry terrain easily accessed from resort boundaries. Splitboarding opened up the backcountry to boarders in a way that makes us consider whether we’re witnessing a revolution in backcountry travel.
Leaps and bounds have been made in splitboard technology over the last decade, allowing snowboarders to push further into virgin backcountry terrain as efficiently as their two-planked counterparts.
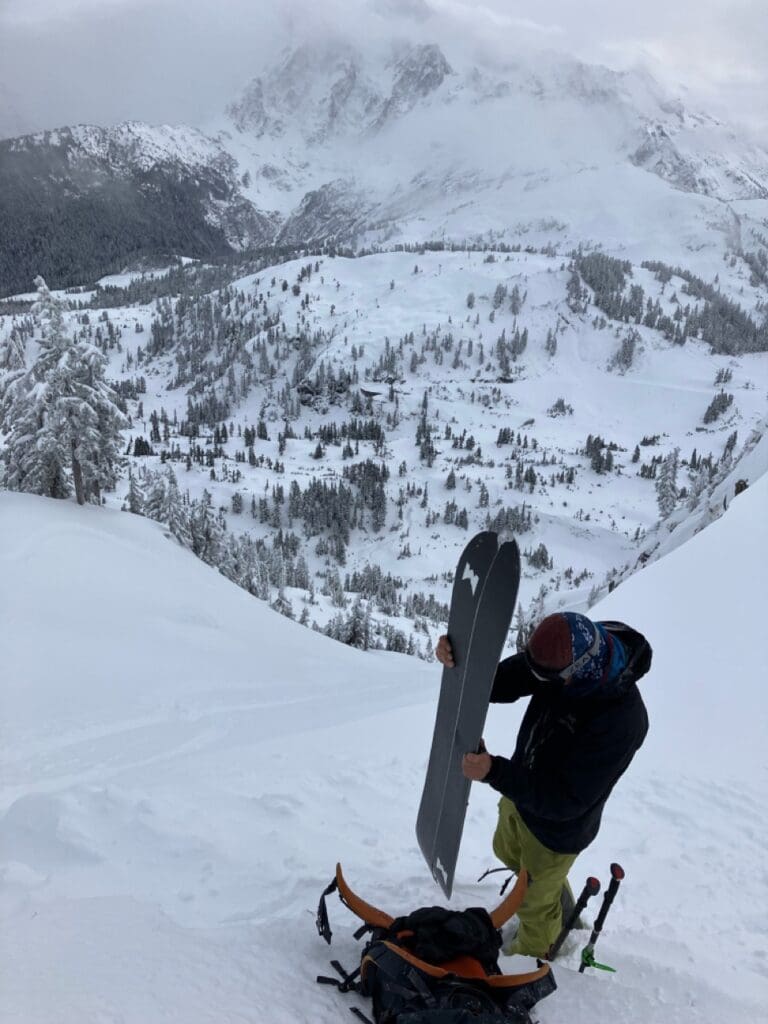
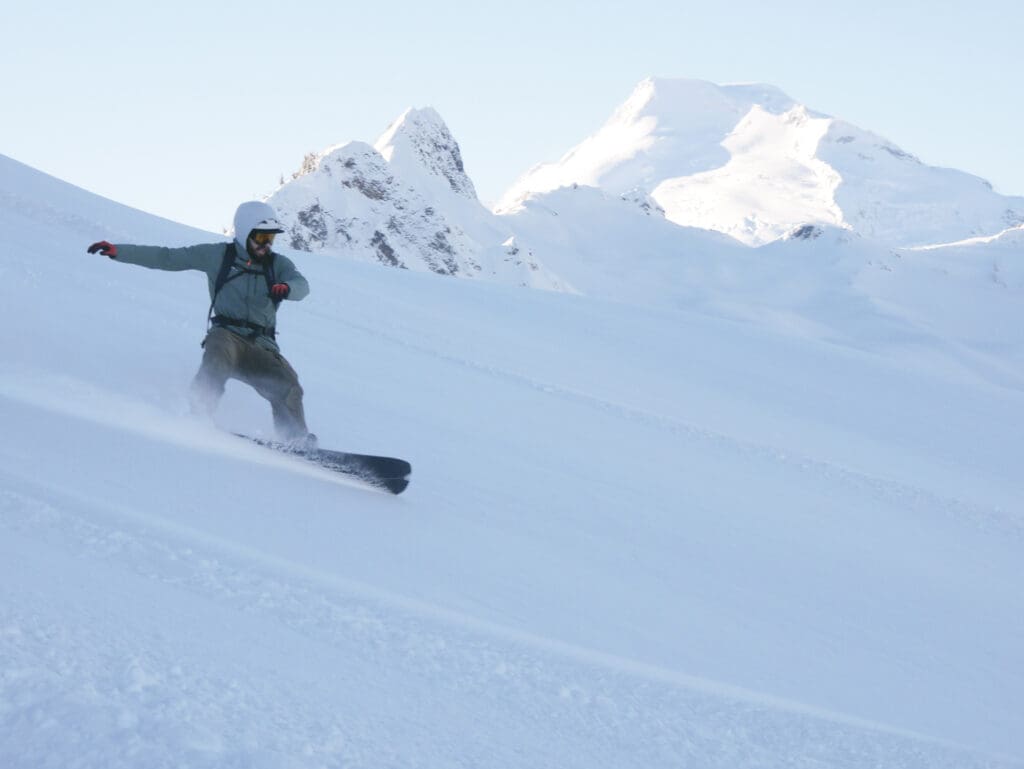
Except for a few pieces of hardware, a splitboard looks identical to a standard snowboard when riding down a mountain and is just as capable on the downhill. At the bottom of any given run, a splitboarder is able to (with practice) quickly perform a mini feat of engineering, transforming their board into a pair of skis for uphill travel.
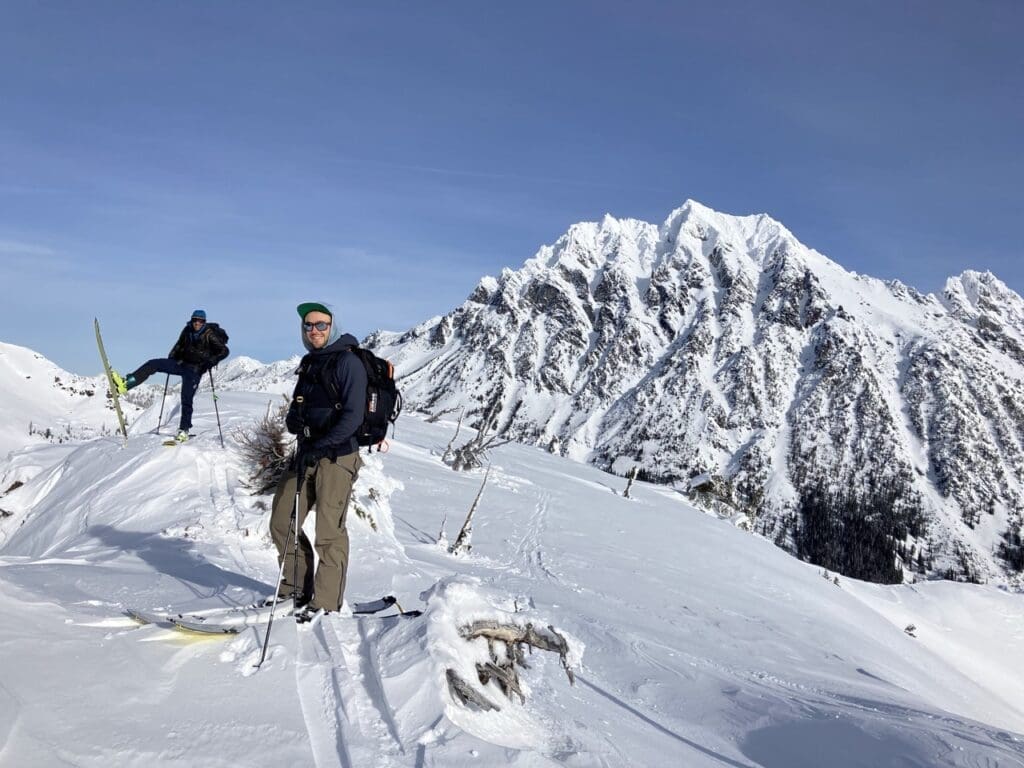
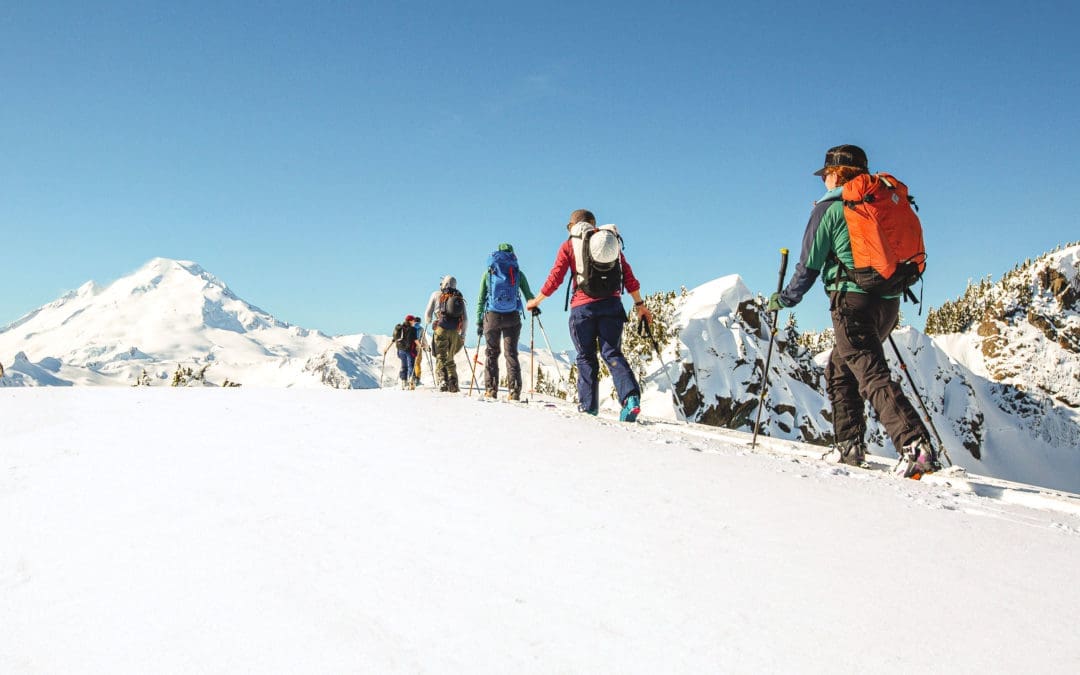
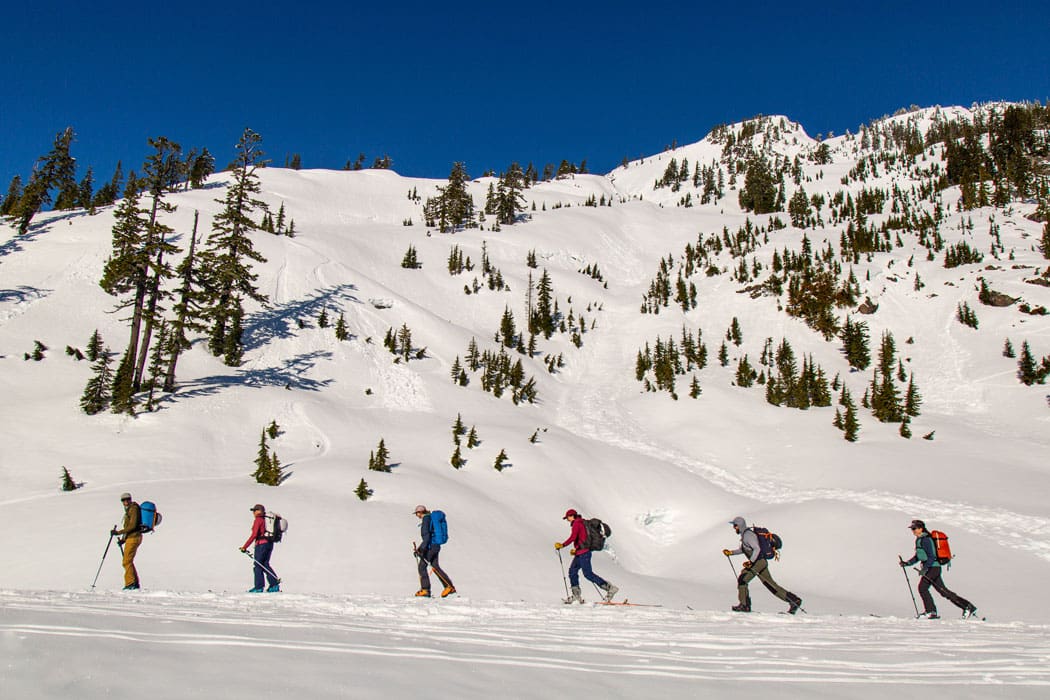
With a splitboard in uphill mode, the once immobile snowboarder is now able to move freely without having to wallow through snow on foot. If you’re a snowboarder but never been out on a splitboard, this beginners guide to splitboarding will get you lined out on everything you need to know to get started in the sport.
What do you need to get out?
In order to reap the benefits of backcountry terrain, you’ll first need to get your hands on a few essential items.
SPLITBOARD | BOOTS | BINDINGS | SKINS | POLES | and TOURING PACK are all hard goods that are a must.
However, the most important investment of any backcountry kit is avalanche education.
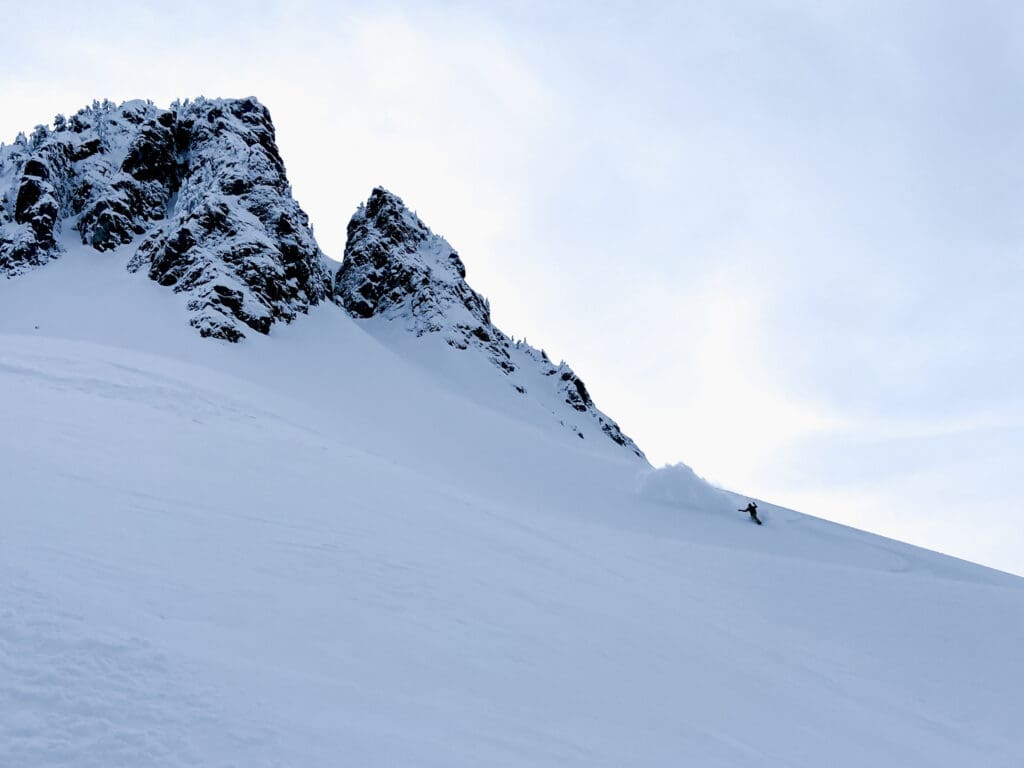
Avalanche Awareness and Education
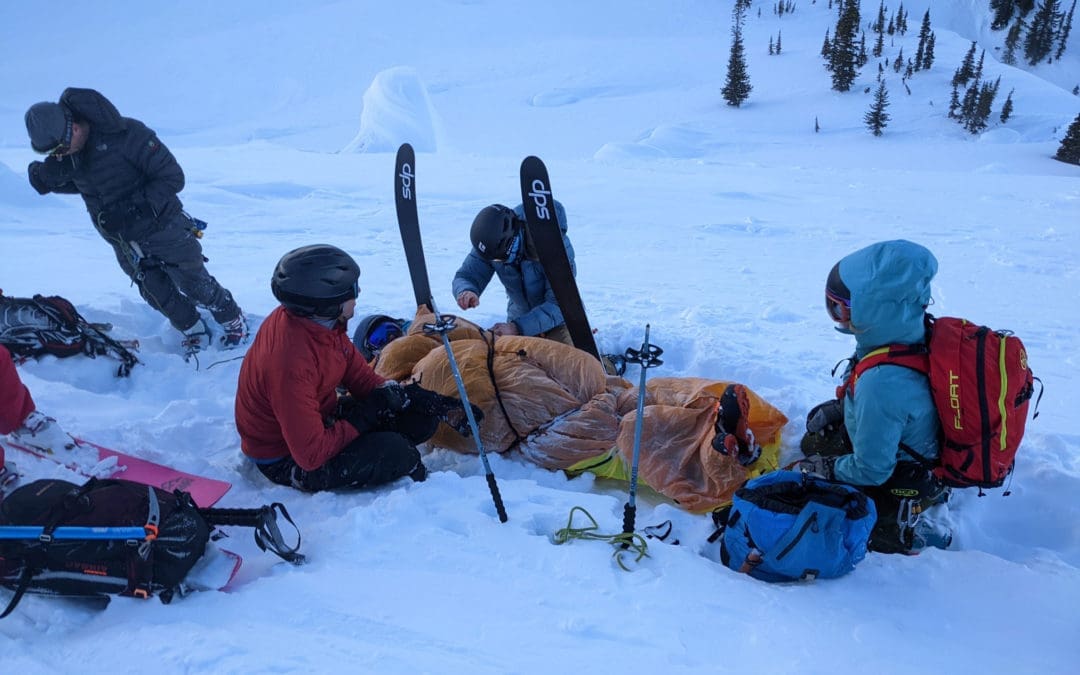
Before even considering venturing off-piste, it is necessary to invest in proper safety equipment, and to get the training regarding travel in avalanche terrain. Splitboarding is infinitely more dangerous than snowboarding in a ski area, where the conditions are controlled by the use of explosives and a team of highly trained individuals (be sure to high-five your local patroller).
By going into the backcountry, you are entering a dynamic environment where it is up to you to make decisions regarding your safety and well being. For this reason, it is absolutely imperative that you have a beacon, shovel and probe when traveling out of bounds, and the training to use them properly.
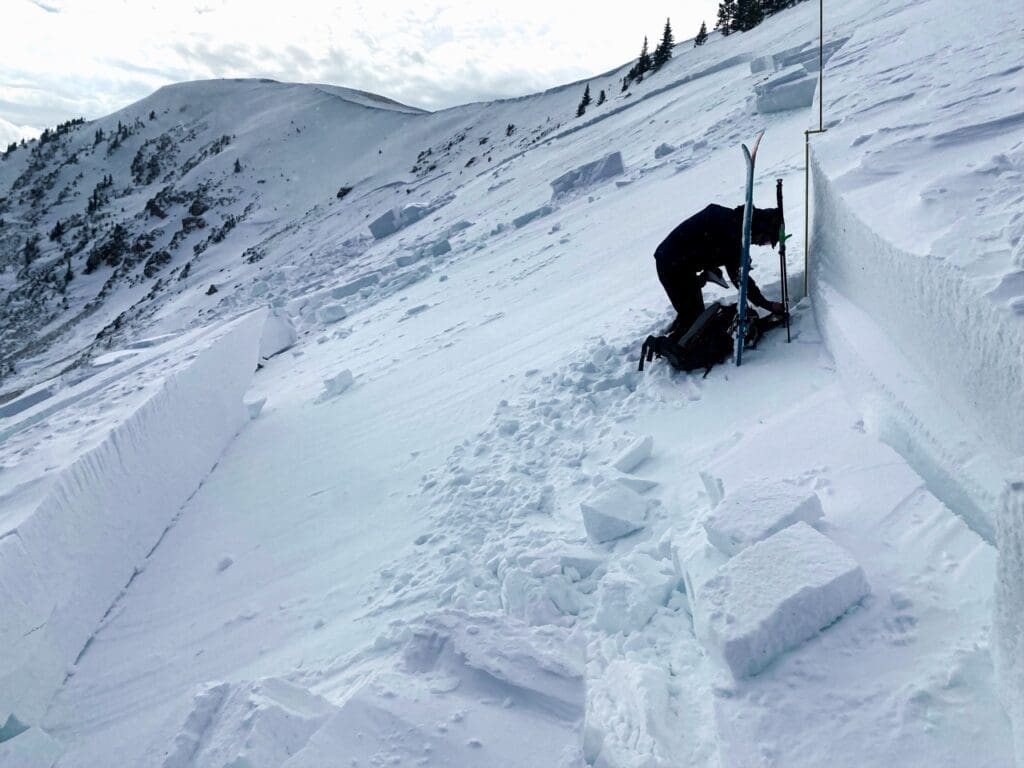
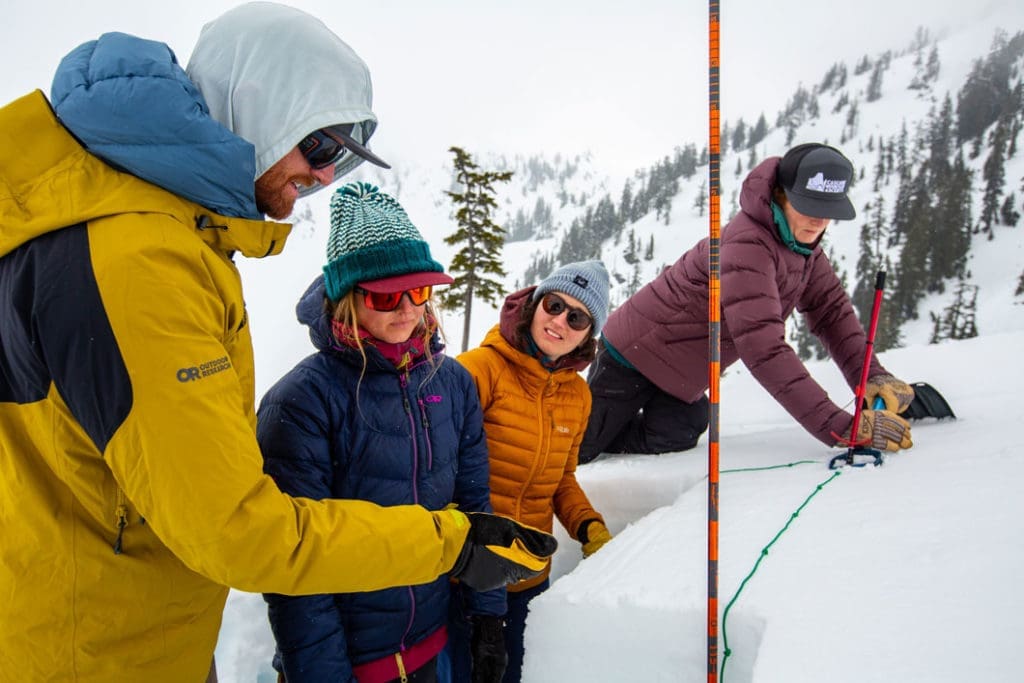
Avalanche education programs in the United States are certified by the American Avalanche Association (A3.) The framework provided by A3 ensures that the content provided in programs are standardized, up to date, and of a high caliber.
While there are multiple organizations that provide avalanche education, the American Institute for Avalanche Research and Education and the American Alpine Institute are by and far the most common in the United States.
Cascade Mountain Ascents offers AIARE 1, AIARE 2, and AIARE Rescue Courses along with Avalanche Alumni Mentorship Tours for those local to WA or Portland area.
Splitboards
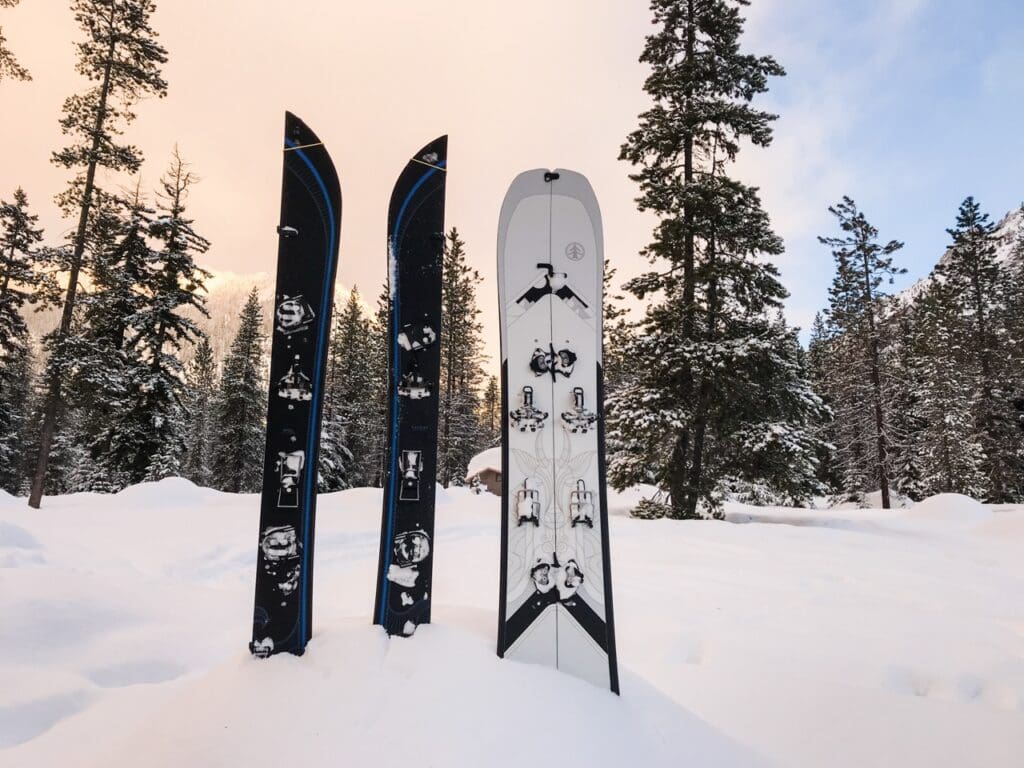
Splitboards, like solid boards, come in a variety of shapes and sizes to provide options for different snow conditions, riding styles and skill levels. They all come standard with hooks and tip clips that allow the snowboard to quickly transition from solid state, to split in a matter of seconds.
Splitboard Boots
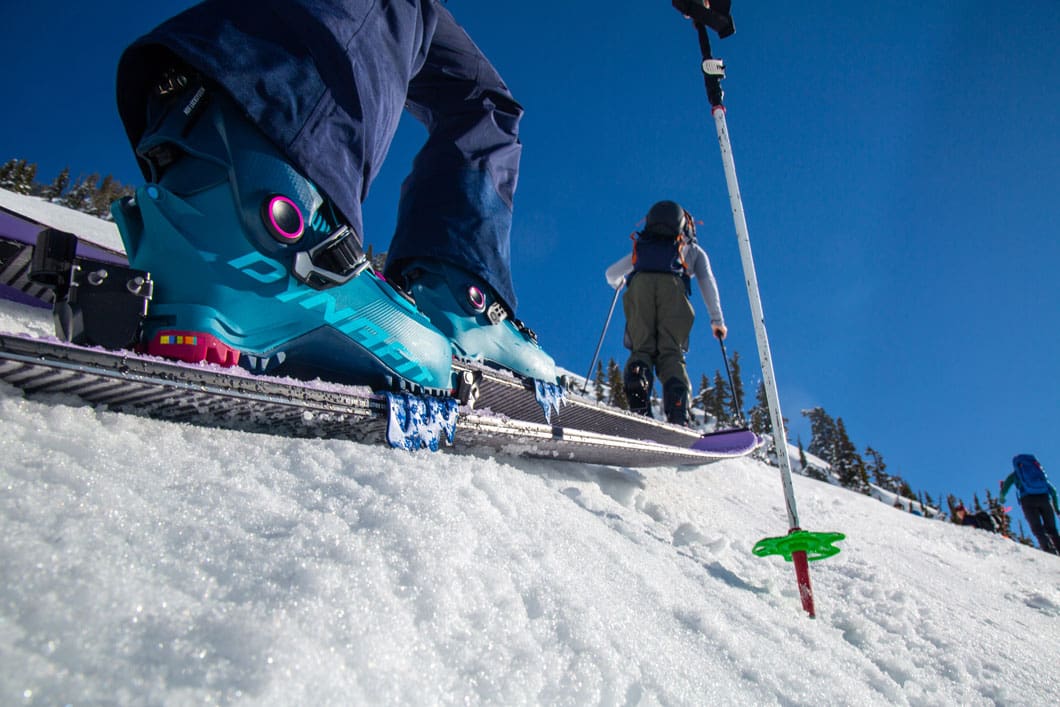
In splitboarding, the vast majority of riders opt to use traditional soft boot setups, but there is a growing minority of “Hard-booters” that are making the switch to hard boot setups.
Soft Boots
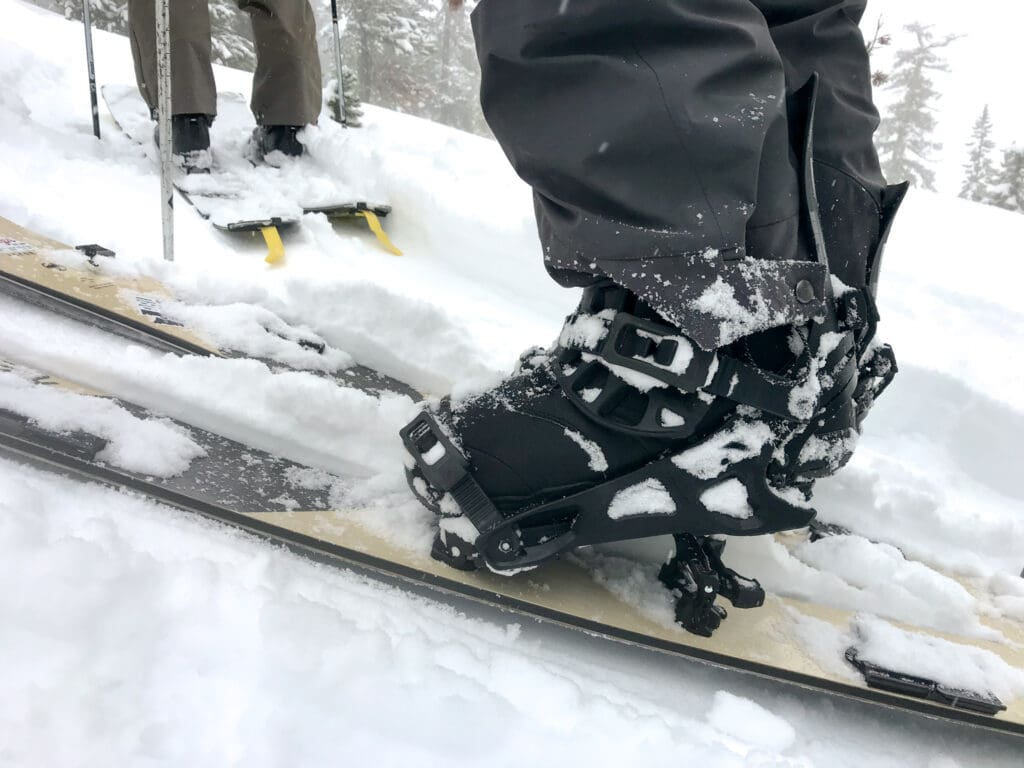
The majority of splitboarders use soft boots because it requires a lesser investment, and most would argue that it makes for a better downhill experience. Generally, soft snowboard boots are more comfortable when walking too.
If you’re thinking of getting into splitboarding but aren’t 100% committed to the idea, soft boots are the way to go. As long as they are comfortable, don’t cause blisters, and ideally aren’t held together with Duct Tape, the boots you run in bounds will ride just fine out of bounds.
If you are psyched about getting out and doing some longer days, tackling bigger objectives, it is worth looking into a stiffer, more responsive boot with a Vibram sole, that is crampon compatible.
Hard Boots
If you’re REALLY psyched, you might even take it one step past a stiffer soft boot, and join the hard-boot revolution.
Up until recently, splitboard-specific hard boots were not commercially available, and it was up to the industrious knuckle-dragger to find, and oftentimes modify a suitable pair of alpine touring (AT) ski boots to fit their needs.
While some snowboarders would argue that hard boots have a negative impact on the downhill experience, it is impossible to ignore the benefits that they provide on the ascent.
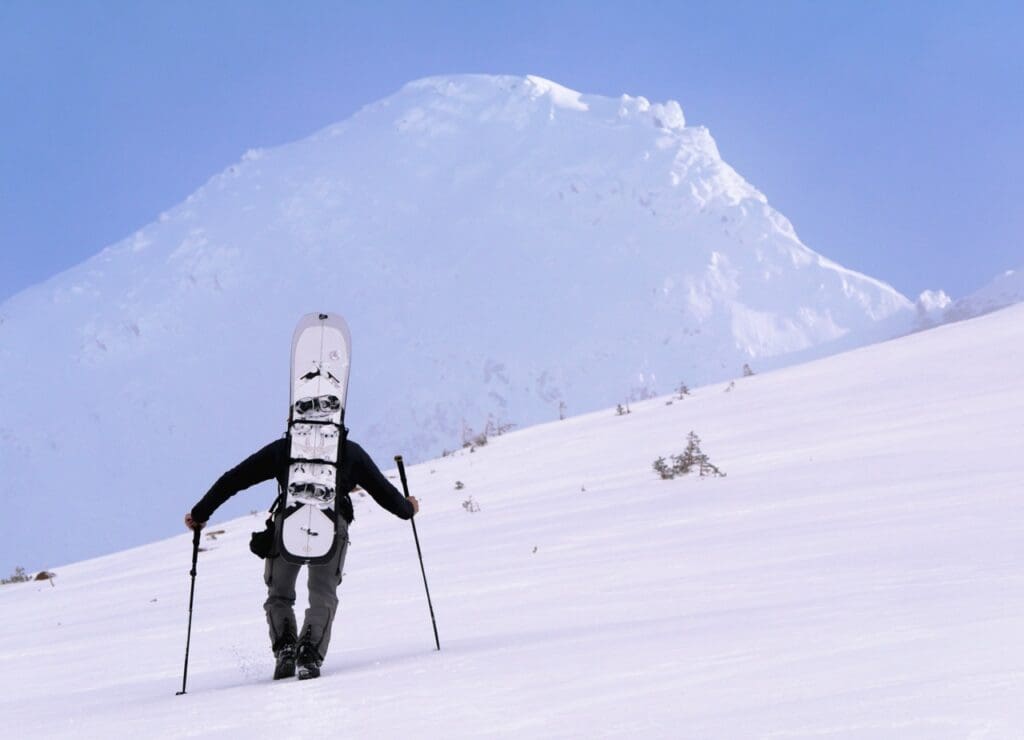
Hard boots tend to weigh less, have a greater range of motion when walking, allow for quicker transitions, and are stiff for those technical descents where you need all the control you can get. They also kick sweet steps in hard pack snow and are compatible with fully-automatic crampons.
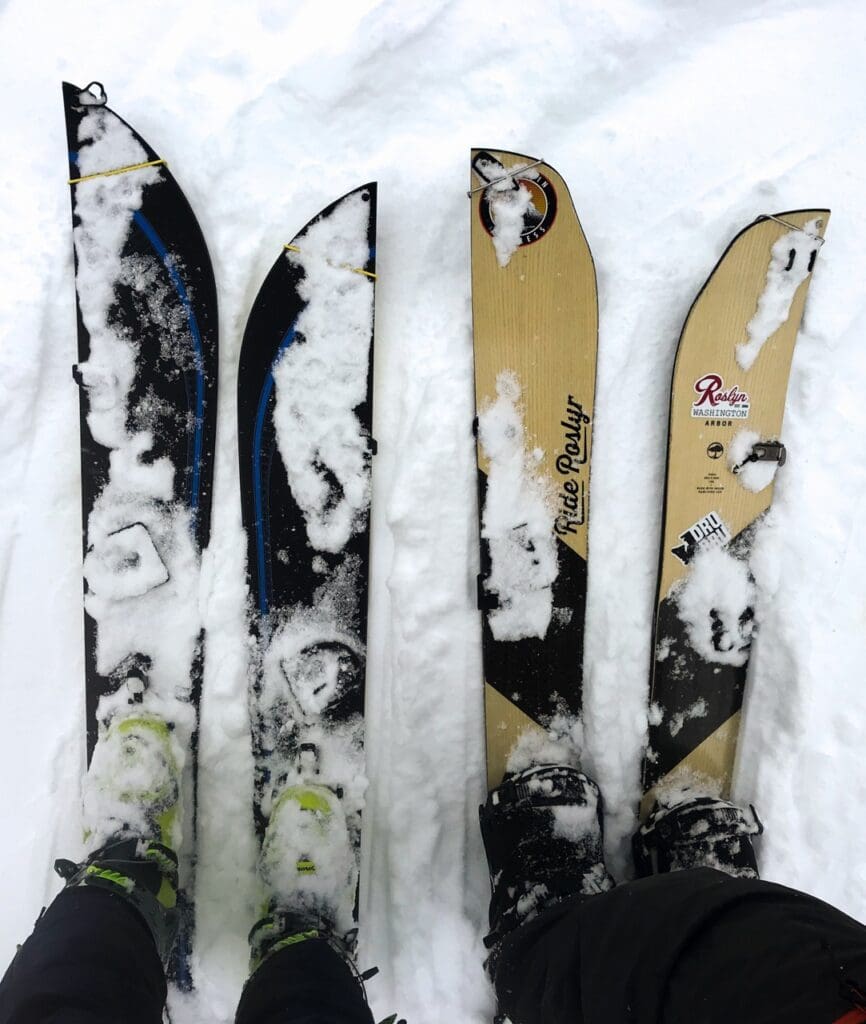
Soft Boot Bindings
Traditional splitboard-specific bindings are modular so that they can transition between uphill and downhill mode with ease. In downhill mode, they attach to their respective interfaces on the deck of the snowboard, creating rigidity.
In ski mode, only the toes of the bindings are attached so that the heel can move freely (embrace your inner tele skier), allowing forward progress.
Hard Boot Bindings
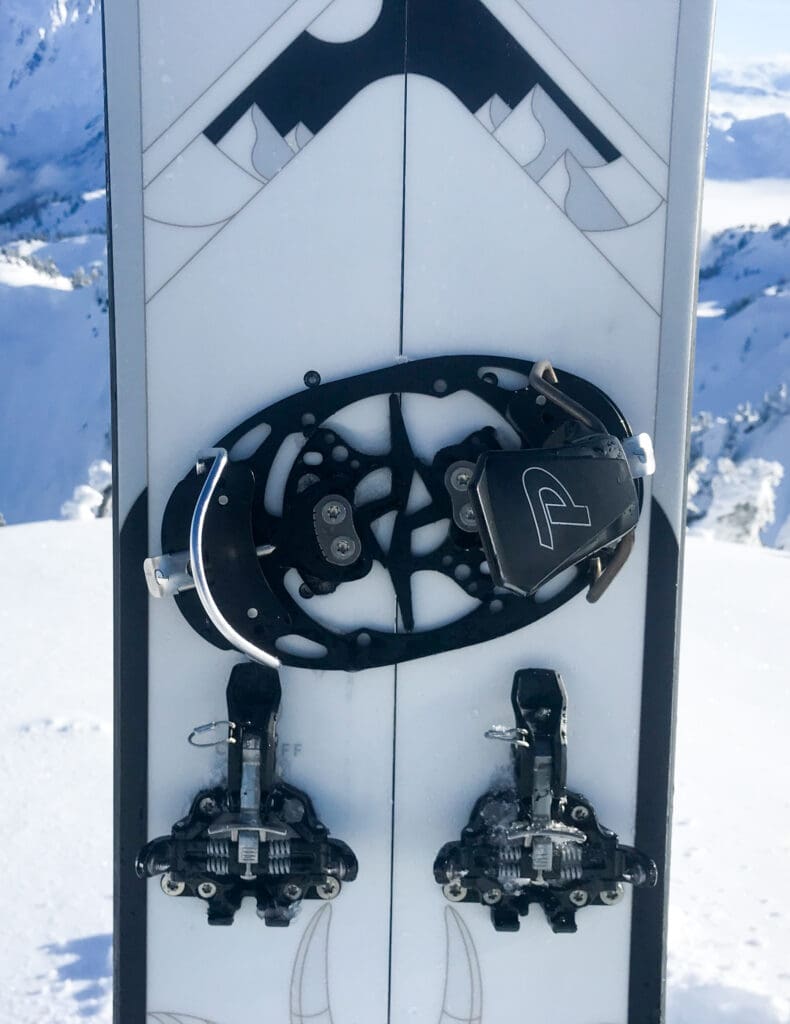
Similar to traditional bindings, hard boot bindings attach and detach to an interface on the deck of the snowboard but aesthetically appear to be from a different planet.
Hard boot bindings have no high backs or straps, and use a crampon style attachment system to secure your feet to the snowboard for descents.
When transitioning to move uphill, the bindings are stowed away, and tech toes that live on the skis are used in conjunction with tech toe inserts on the boots for uphill travel. (Are we skiers yet?)
Skins
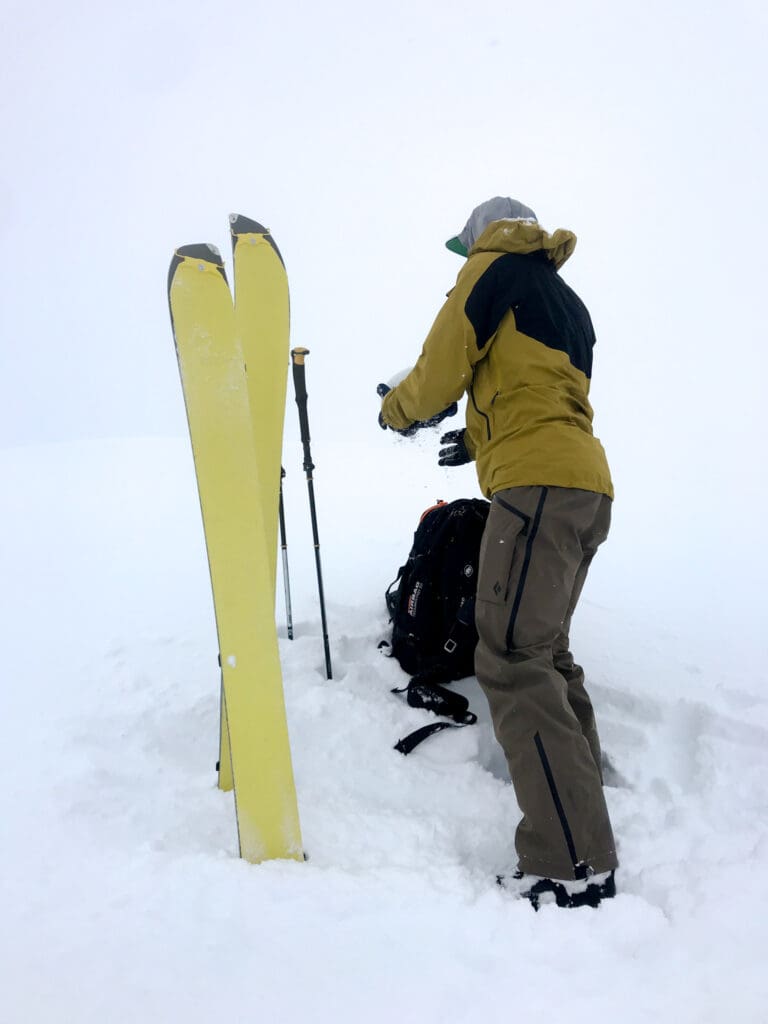
Skins are arguably one of the most important components of any splitboard kit. Climbing skins most commonly come in different lengths and widths and are meant to be trimmed down to make a custom fit for your particular splitboard. That said, it is becoming increasingly common to find commercially available pre-cut skins for a variety of different splitboards.
Not all skins are created equal, and the material that the carpet is made out of affects their performance. All skin manufacturers will have skins that are made of synthetic materials, mohair, and synthetic/mohair blend.
Synthetic skins are usually made of nylon, and are the most cost effective, durable, and provide the best grip. That said, they don’t pack down as small, they glide poorly, and are heavier than the alternatives.
Pure mohair provides the best glide, packs down the smallest, weighs less, but doesn’t grip as well. These are for those who have honed-in on their skinning technique and are spending long days in the mountains where every drop of effort counts.
Synthetic/mohair blends generally come in a mix of 30% nylon to 70% mohair. These sit happily in the middle, providing a good grip to glide ratio, not too heavy, pack down well, and are pretty durable.
Poles
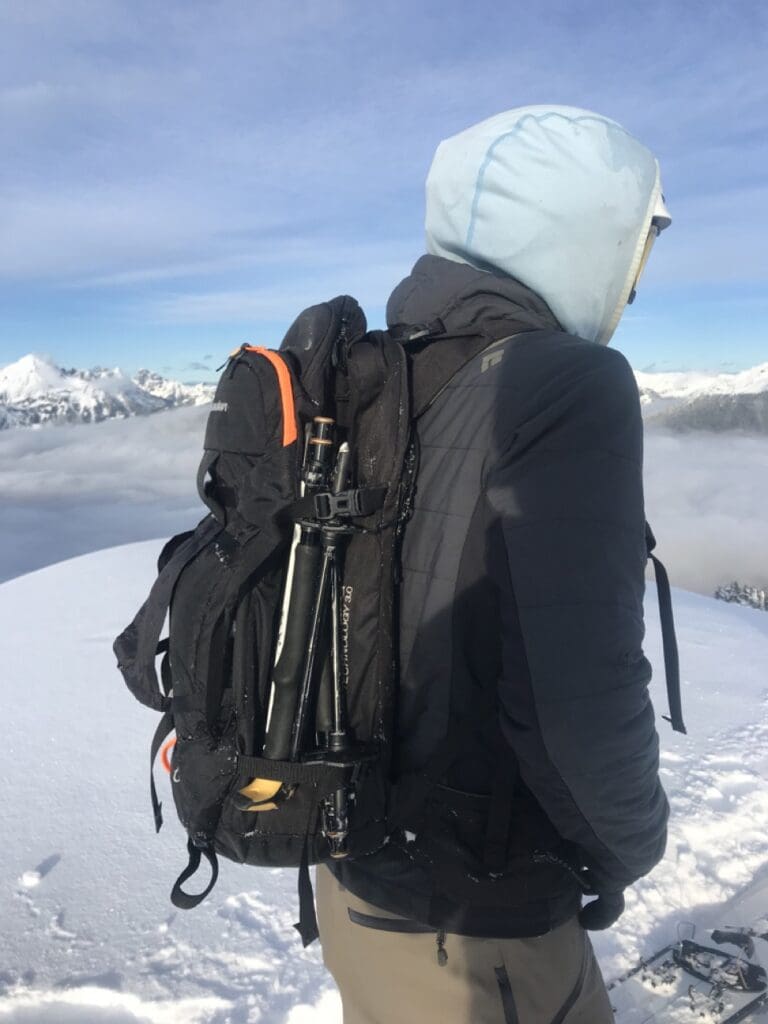
Poles are an easy afterthought to a snowboarder, but don’t be fooled, they can make or break a day out in the mountains. While ski poles make a world of difference on the uphill, they have the potential to be a nightmare on the descent if they don’t pack down small enough. For this reason it is extremely helpful to have a 3-piece collapsible ski pole. Folkrm also makes a sweet collapsible long grip backcountry specific pole. It doesn’t get quite as small as the 3-piece poles, but they’re just as light, more durable, and made for the uphill.
Backpacks
It might not be necessary to have a touring specific backpack, but it sure is helpful. Touring packs come in a variety of sizes, and come with different features to cater to different tastes.
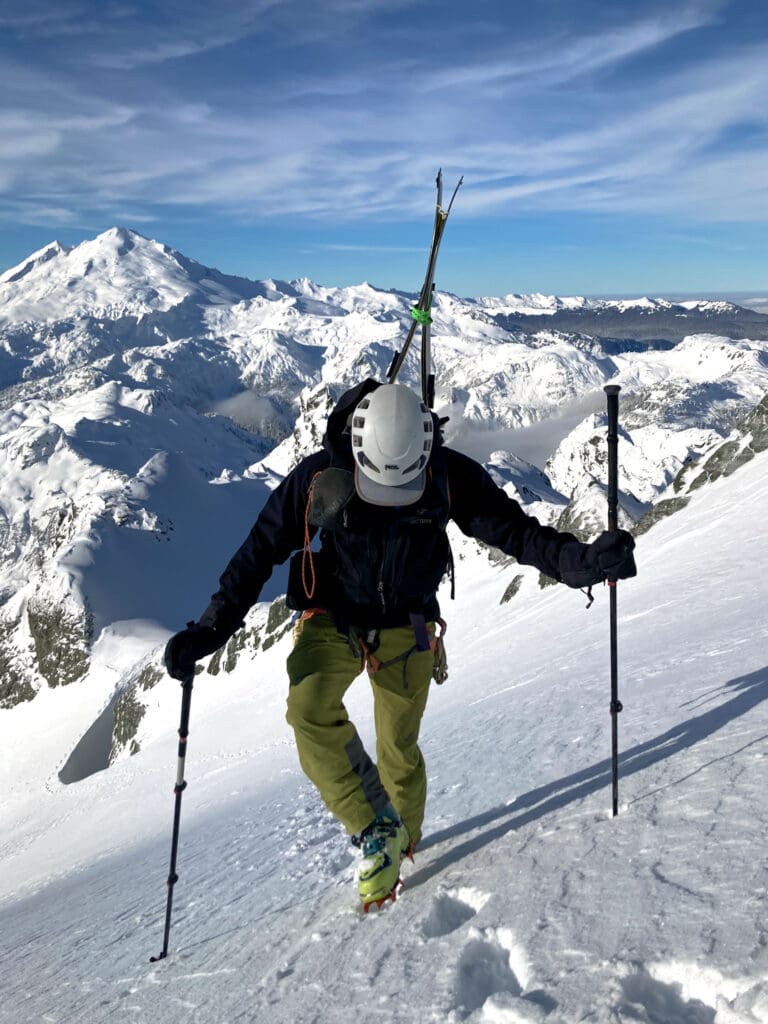
The most basic touring packs will come standard with a separate compartment for avalanche gear (shovel and probe), external ski carry, and ideally a way to carry a helmet externally.
On the other end of the spectrum there are avalanche airbags. These bags have all the regular bells and whistles that a standard touring pack comes with, but these come equipped with an airbag that, if deployed, will permit an avalanche victim to rise to the surface of the debris to avoid a complete burial.
Why Splitboarding?
Splitboarding simply isn’t for everybody. It’s hard work, it’s dangerous, and more times than not, you’ll end up getting skunked. You will undoubtedly think of quitting when you find yourself wallowing through waist deep snow in a flat, while your two planked brethren quickly shuffles through without a worry in the world.
Not every day can end in splitter pow turns.
But every outing on a splitboard adds more experience to a skill set that needs to be fed in order to improve. With every tour, you will learn how to move more efficiently, how to appreciate the climbs as much as the descents, and gain strength so that you can cash in on the bluebird pow days.
As you add more experience to the mental quiver, the more terrain you’ll have to choose from. As seasons pass, you learn where the flats are, you learn where to chase the good snow, and if you’re lucky, you learn to love the bad snow. With time, the bad days become few and far between.
Splitboarding the gift that keeps on giving, and if done correctly, it can be a lifelong endeavor. From small days to multi-day traverses, splitboarding has a flavor for every taste.
Get off the fence, get educated, and go walk around.
Want to learn more cool stuff? Check out out The Backcountry Skiing Guide!
