Ski Crampons for Backcountry Skiing and Riding
By: Phil Straub
Ski crampons for backcountry skiing help backcountry skiers and riders gain purchase on firm snow when skins alone don’t quite cut it. These light, little tools can turn a tedious icy ascent into a stairway to corn heaven. Let’s take a look at how and when to break out your ski crampons.
What Even Are These Things?
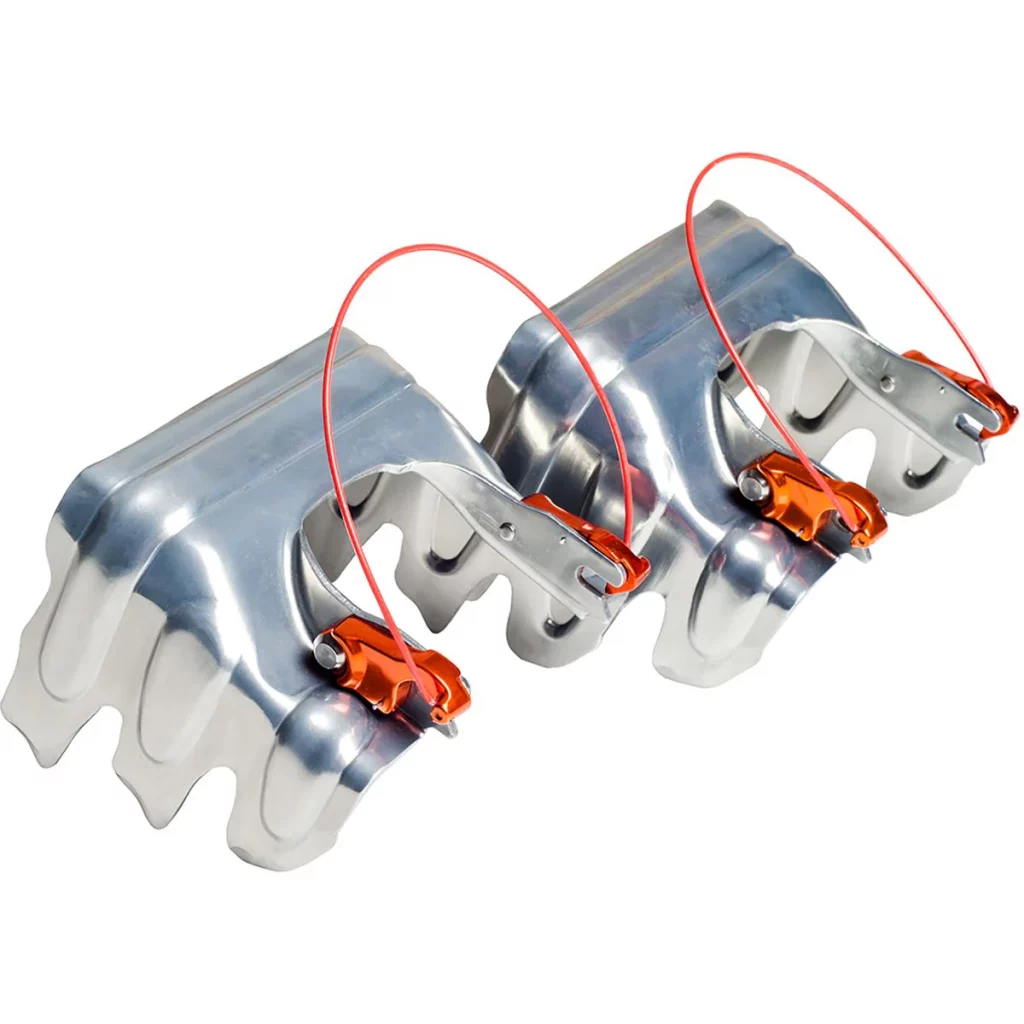
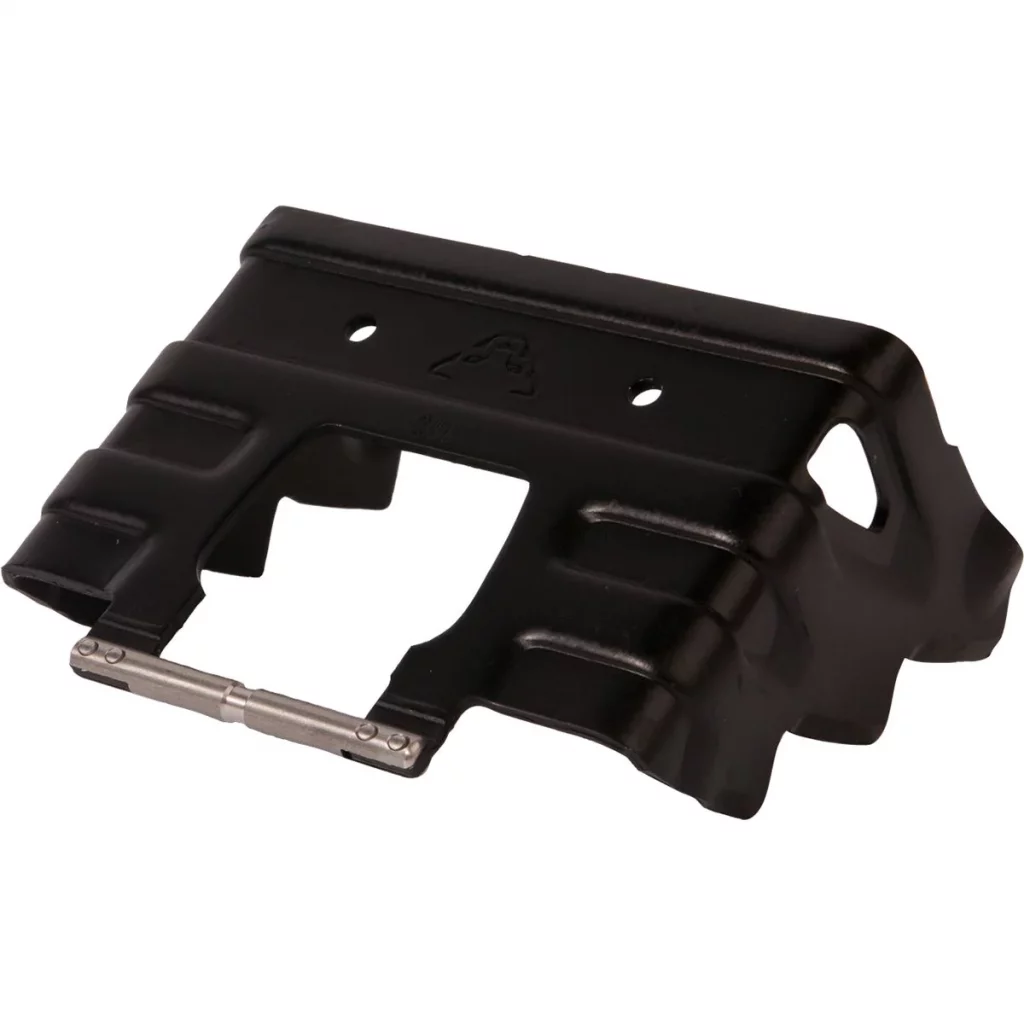
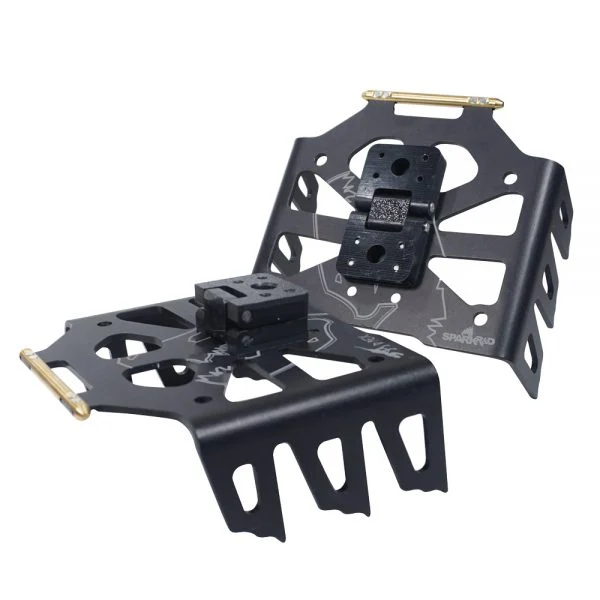
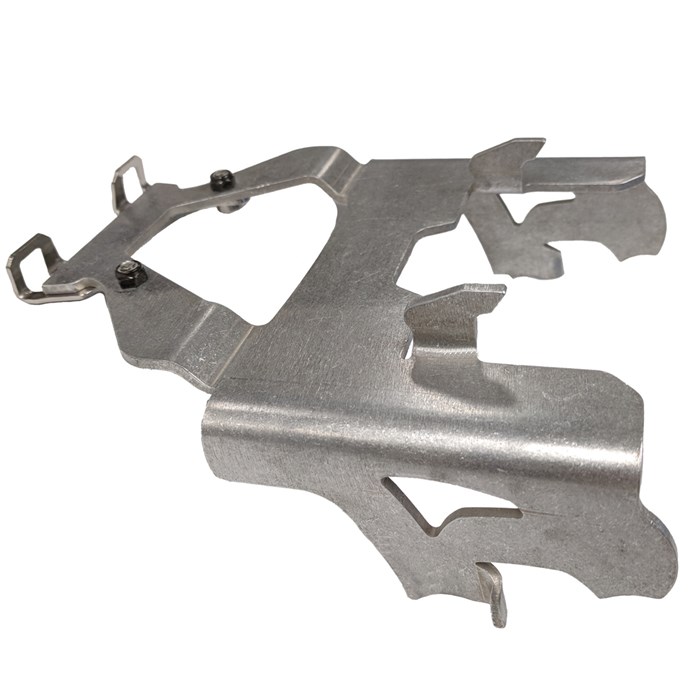
Ski crampons affix themselves to your touring binding. They pivot in place to lift out of the snow when you unweight your ski, then crunch back into the snow when you weight your boot.
Ski crampons are designed to be compatible with particular types of bindings and widths of skis, so make sure you are getting the right ski crampon for your setup. Many companies use the universal system, which have a narrow bar on the front of the crampon that slips into a groove behind the toe piece of the binding. Other companies have their own proprietary attachment method. If you’re unsure, talk to your local ski shop or your binding manufacturer about what to get.
Ski crampons also need to be sized to your ski waist. You’re looking for the smallest available size that is as wide or wider than the waist of your ski. Too much wiggle room makes the crampons less effective and more likely to bend or break the attachment points. For example, if you’re tearing it up on some 108 underfoot sticks that take universal ski crampons, you’re going to want to get a 110 crampon, since the sizes break on 10mm increments. The same is true for splitboard crampons.
I Got A Pair, But What Now?
Ski crampons are most commonly used in the spring, when freeze thaw cycles harden the snow surface and mornings present firm icy conditions before the sun warms the snow to reveal the corn. However, if you’re expecting an icy day mid-winter, such as a few inches of new over a hard melt-freeze crust layer, then you might be psyched to have a pair of ski crampons with you.
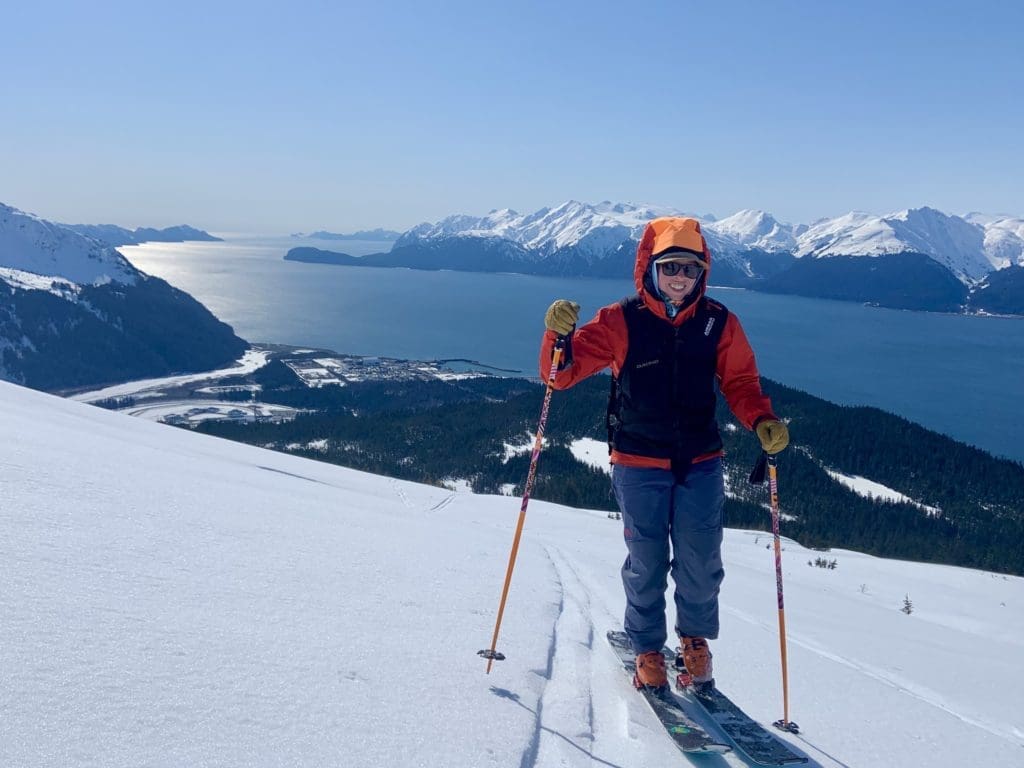
Conditions change fast in the backcountry and having your ski crampons close at hand is smart. This will prevent you from getting in too deep on a steep icy ascent just because you didn’t feel like digging through your pack. Find a spot to clip them securely to the outside of your pack where you can easily reach them or ask a touring partner to grab them for you. If you’re traveling on a glacier and already wearing a harness, you can just clip them to a gear loop with a spare carabiner.
Lastly, remember that most crampons will require you to take your ski off to apply the crampon. This is much easier to do before the slope gets too steep. As you’re approaching the point when skins aren’t cutting it, take off one ski, use your boot to kick out a little platform to stand on, and put on your crampon. You can then place the ski back in the snow and stomp the crampon into the surface, which will hold your ski in place and help you get back into the binding. Repeat for the other ski.
How Do I Make These Things Work?
Ski crampons do little to prevent you from sliding backwards on firm snow, but they do a lot to prevent your boards from skittering down hill horizontally. Just like any time you’re skinning, you’ll get the most out of these tools, and your legs, with a nice low angle skin track where you travel across the slope rather than straight up.
On steeper slopes with switchbacks, the downhill points of the ski crampons may not actually be engaged with the snow. The whole reason you put them on was to get more purchase, so milk them for what they’re worth! Rotate your ankles downhill so that the ski bases are in contact with the snow surface and both sides of the crampons penetrate the snow. This may feel counterintuitive at first, but once you get used to the motion, you’ll be more secure and find yourself flying up steeper firm slopes with ease.
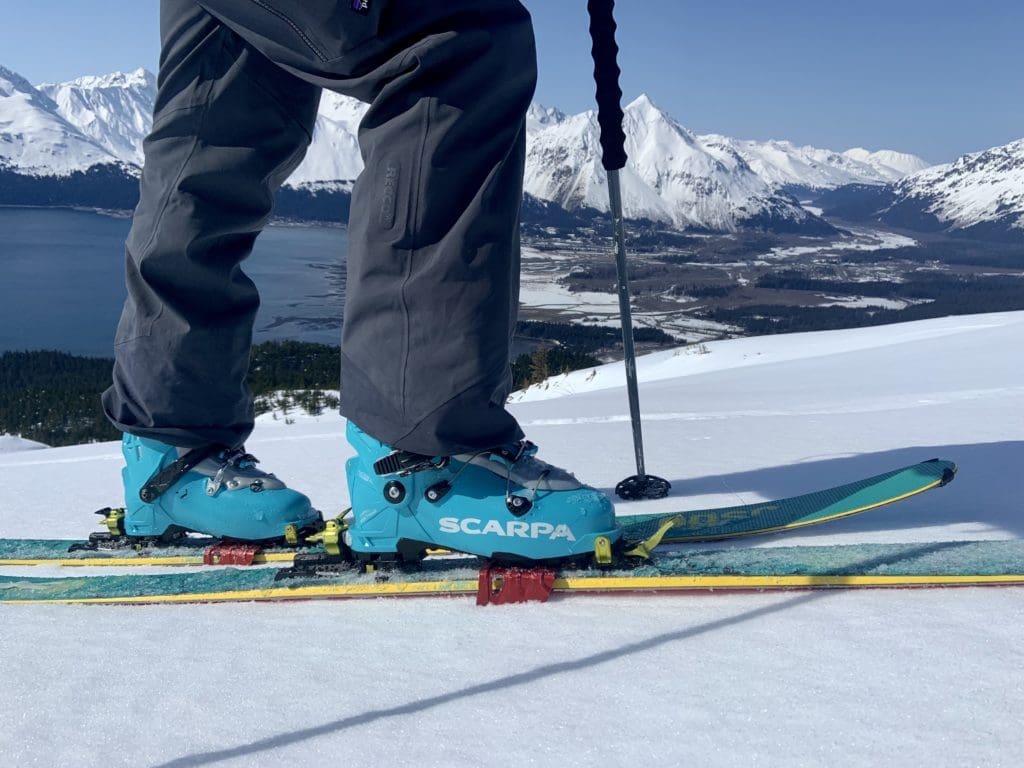
To increase efficiency when using ski crampons, make sure you’re adequately unweighting your ski. You don’t need to lift your feet dramatically off the snow but if you’re not rotating your boot far enough forward in the binding when advancing your ski, the crampons will still bite the snow and cause resistance. You want the points of the crampon to slide across the snow surface along with your ski, making a little metallic pinging sound. If they’re biting into the snow, you’ll feel it. For most people, your standard uphill stride will release the crampon.
These Are Amazing! Can I Just Use Them All The TIme?
Not so fast! Unlike climbing skins which are designed to be used in all skinning conditions, ski crampons are a specialized tool for dealing with firm snow, and any tool with a specific use can be overused. If you can skin fine without them, you should, because they will inhibit your ability to glide on lower angle slopes and have a tendency to snag up on your skis when breaking trail in the soft stuff. This means you should put them on right before you need them and take them off if you return to long stretches of low angle skinning or softer snow. Also, if you’re looking at needing them for only a very short time or slope, consider another uphill travel technique, like booting with your skis or board over your shoulder, that has a faster transition time.
Oh, and don’t forget to pop them off before you ski or ride, or you’re going to have a bad time…
Final Thoughts
I’ve had some amazing spring-like ski days in mid January in the Cascades where ski crampons allowed me to access terrain I’d be terrified to enter otherwise. Ski crampons for backcountry skiing will add efficiency to your ascent and help you save energy for the ride back to the car. Practice putting them on at home first so your system is dialed before you get out, and enjoy the satisfying crunch of your ski crampons punching through the snow on the way to the top!
Want to learn more? Check out The Backcountry Skiing Guide.

