Travel Techniques for Backcountry Skiers & Riders
By: Phil Straub
Backcountry skiing or riding is, in many ways, a team sport. Sure, you can go it alone out there, but most folks choose to venture into the mountains with partners. The reasons to ski with other people are numerous, from additional safety margins to fun with friends. However, just adding people into the equation doesn’t automatically equate to a safer touring day. Group management is key to a good day out. Let’s dive into a few group travel practices that you can use in the backcountry to enhance your touring days and shred well together.
Uphill Techniques
On any given day in the backcountry you’ll probably spend the majority of the day walking uphill. When you spend so much time doing one thing it’s easy to get complacent about group management and just resort to an “every rider for themselves” approach. Don’t let this happen! Make sure you’re choosing appropriate group travel practices for your group, the terrain and the day. Let’s look at a few ways to travel as a group on the skintrack.
Travel Together
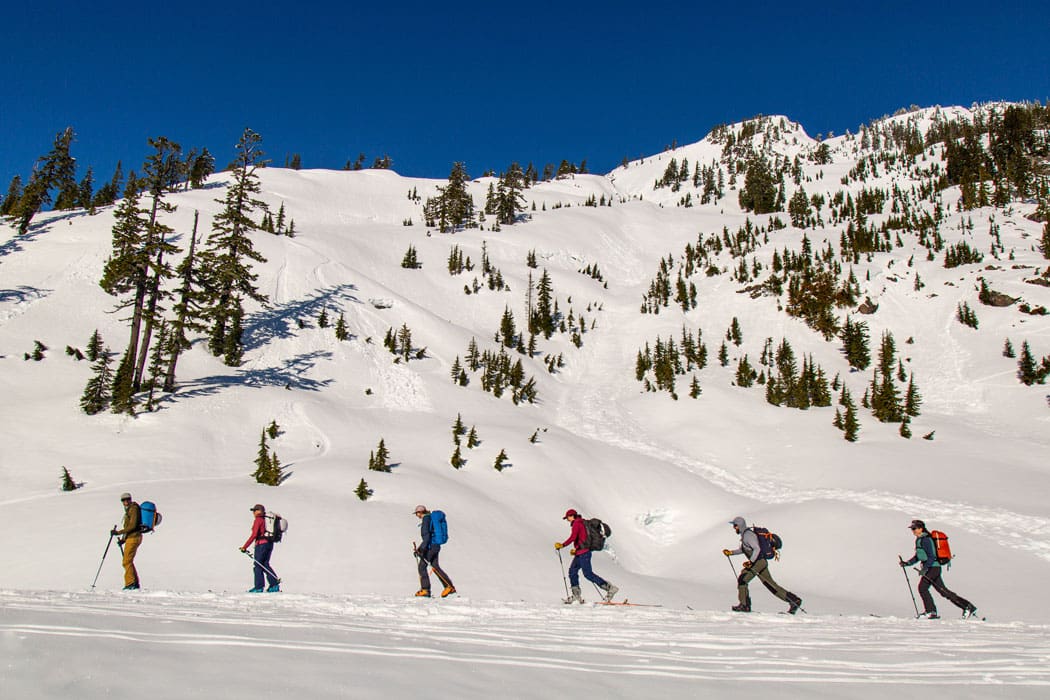
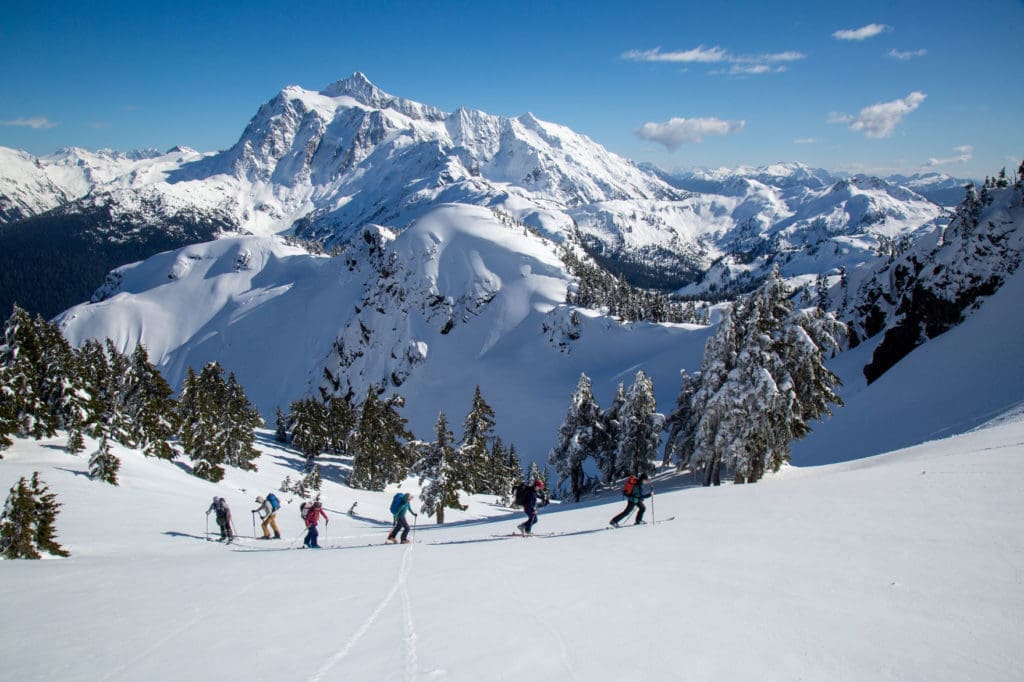
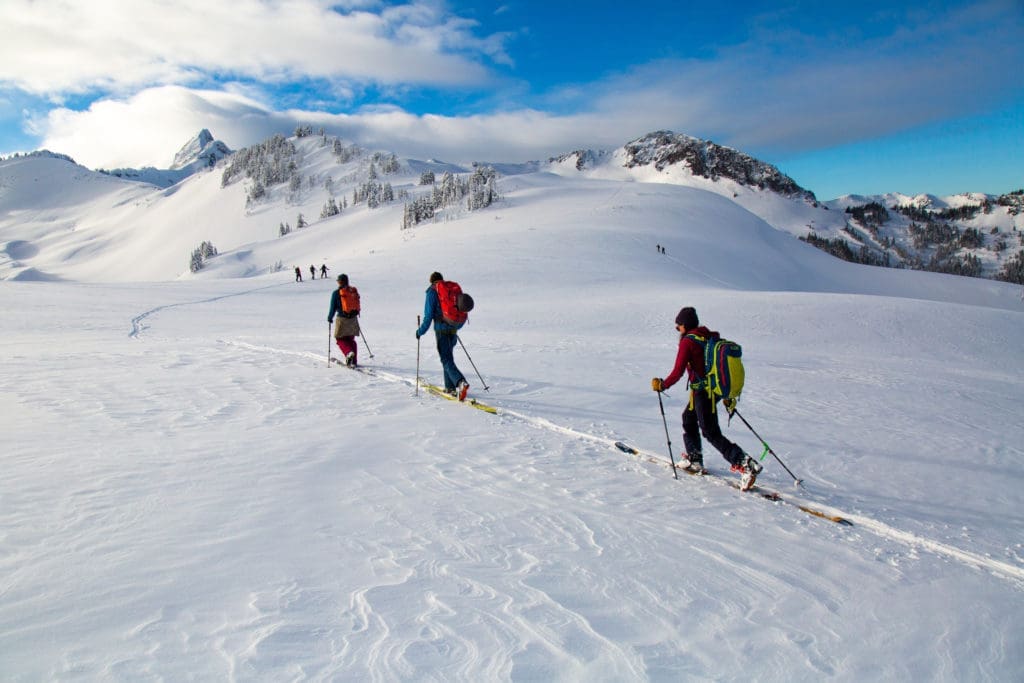
Traveling in a tight pod, the “Iron Caterpillar”, is the default mode of uphill group travel. Whenever you are not in avalanche terrain or in exposed locations, this is how you should be moving. Keeping your squad together achieves many things, but most importantly it makes communication easy.
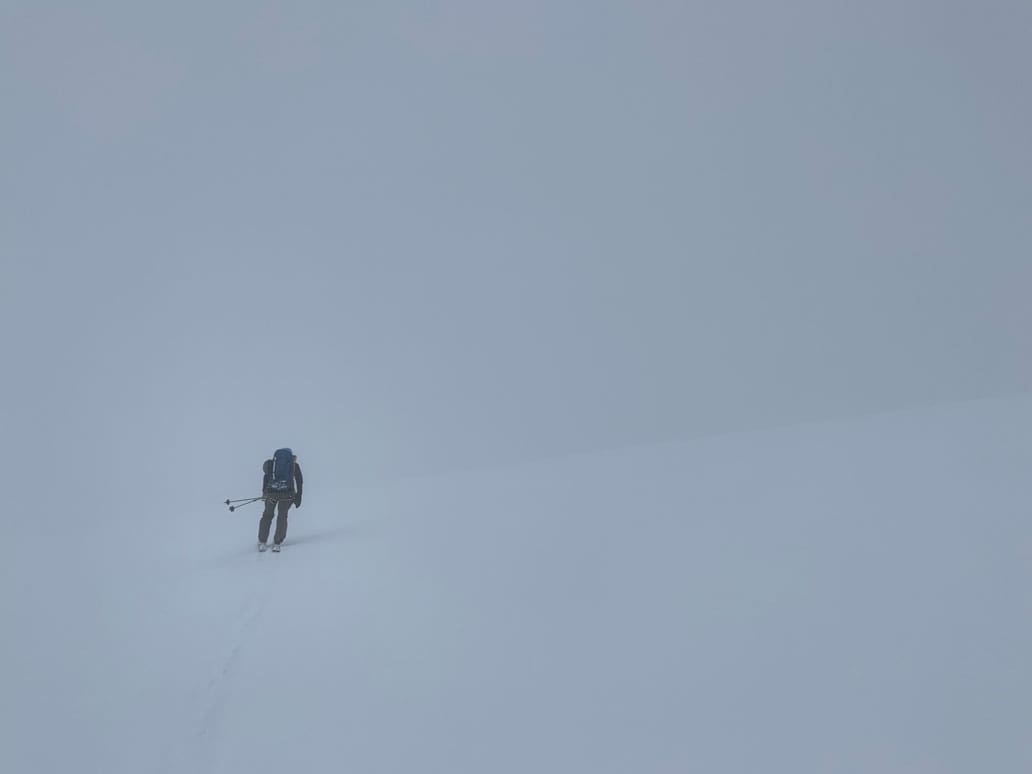
Moving all together is great for foul weather. Wind can hamper your ability to hear people when they are far off, and it’s great to have everyone in sight instead of spreading out in a whiteout. There will also be more frequent decisions to be made when the weather isn’t great and keeping tabs on how everyone in your group is doing is so much easier when you’re all together.
The main danger here is complacency. If you’re yammering it up on the skin track with all of your pals you might miss a crucial observation or forget to switch up your travel practice to match changes in terrain. Keep the head up!
Space Out
If the terrain gets steeper or more exposed, then it’s time to change your group travel practice. The next step up in group travel is to put some space between you and your buddies. This is a great technique to use when you’re crossing short sections of steeper or more hazardous terrain. Make it a habit to space out when you need to pass through avalanche terrain, even if the danger is low.
When deciding to space out you should come to a consensus about how much space to put between your group members. It can be helpful to use an object you can imagine instead of a distance to achieve good consistent spacing in your group. For example, instead of spacing out 40 feet, put one school bus of room between you and the person in front. Some people will find this much easier than estimating distance. The distance you choose should be greater than the width of the features that concern you.
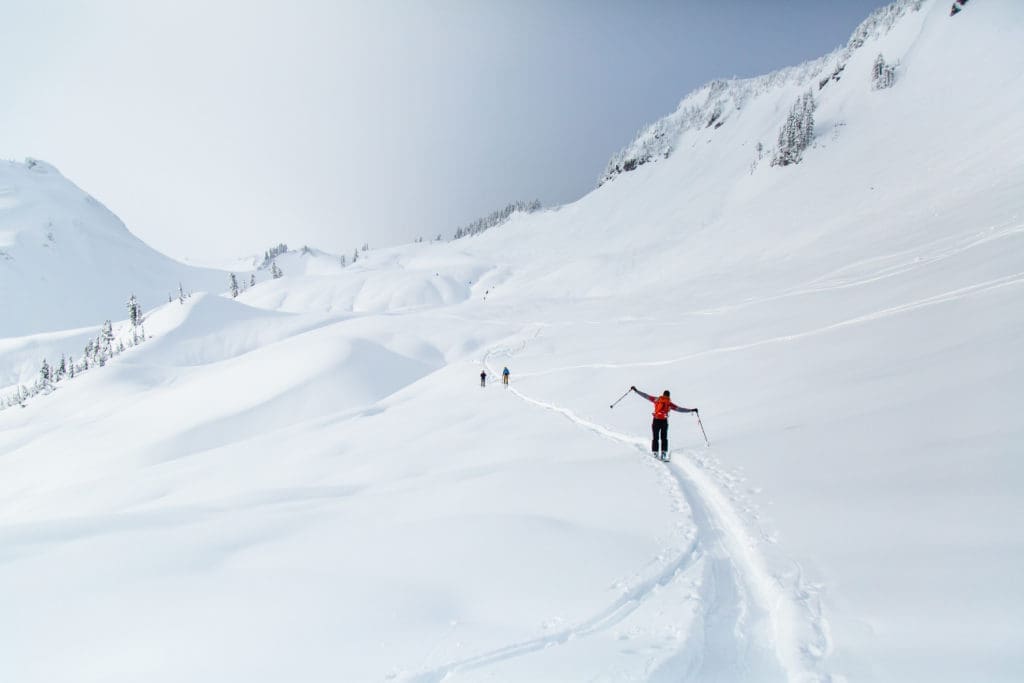
Spacing out presents the challenge of keeping an eye on everyone. While it’s easy to watch the person in front of you, it’s also easy to forget the person in the back of the group. Make sure everyone is shoulder-checking, making sure the person behind them is still there.
Whenever you are making a conscious decision to stop traveling as a unit, you should be asking yourself why. Sometimes you might think that spacing out is the answer when the actual answer is being somewhere else. Don’t lean on spacing to try to manage an avalanche problem. Getting one person caught instead of four is still a fail for the day.
Lastly, as soon as you’re not traveling as a group, it’s best to have a plan for when you’re going to reconvene. Otherwise, the person in front will be tasked with making group decisions on the fly. By deciding ahead of time when you’ll group up again, you build in a decision point to reconsider your travel practice.
One at a Time
If you faced with crossing a larger single terrain feature that you only want to put one person in at a time, you should do exactly that. Going one at a time is the most conservative way to travel through avalanche terrain as a group short of re-routing (which, as discussed above, should always be the first consideration).
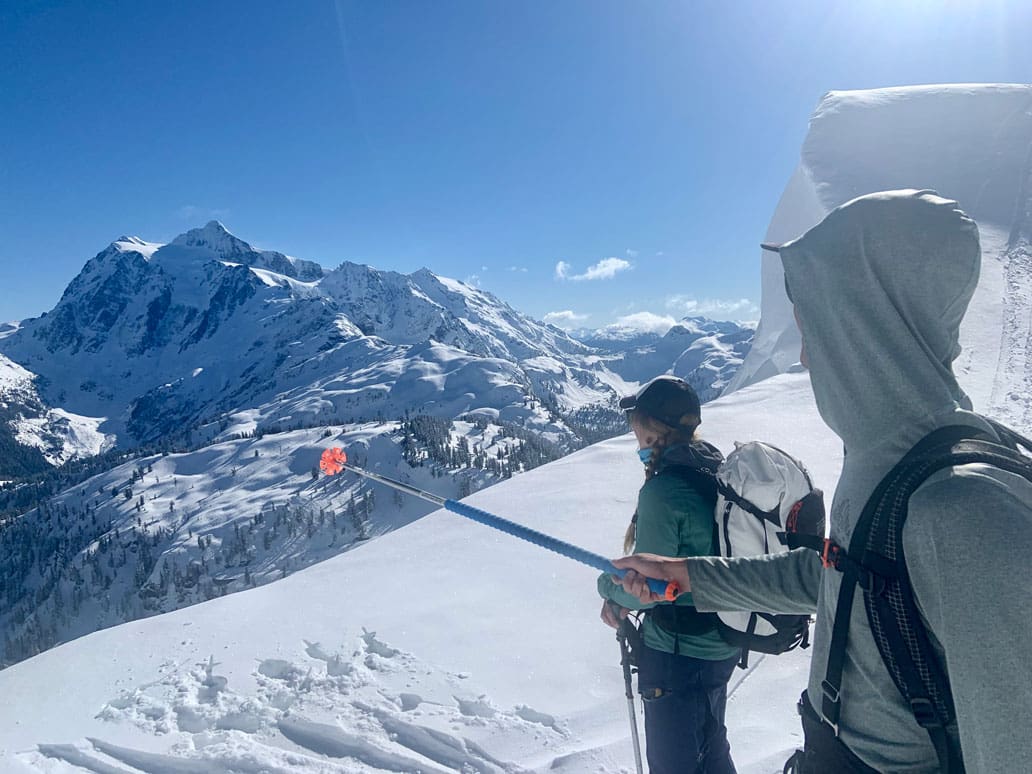
Moving one at a time should always happen between fixed points. When the first person gets to the other side of a feature, they can signal to the next person that it’s time to proceed, then repeat this until the entire group is together again. The signal could be a pole wave, a vocal cue, or just visibly getting to a group up spot and stopping. Radios can come in handy here, but it’s always good to have an analog solution for communication.
This is by far the most time-consuming way to travel as a group. If you’re doing this all day, chances are you’re not really getting anywhere. While this is a great way to approach a single feature, if your route requires going one at a time over and over again, chances are you could be choosing a better route. Also, this may just not work for the terrain. You will encounter uptracks that are exposed to avalanches for miles at a time. No way are you travelling one at a time! These are high value decisions that require expert knowledge of snowpack and avalanches. If you’re not up to it, hire a guide to tell you when to go or not, or wait until you or your partners have the knowledge to ride this kind of terrain.
Pacing
This can be one of the hardest skills to learn when it comes to group management, but it’s really pretty simple. Make sure everybody is moving at a sustainable pace. If you’re not sure that’s happening, just ask, and give honest answers. If you get burned out skinning, the ride is going to suck.
Both traveling as a unit and traveling spaced out require everyone to move at the same pace. Make sure you’re traveling at a sustainable pace for the slowest member of your group. Everyone has been this person before and will be again, so there’s no shame in it. If your group is struggling to keep that pace, put that person out front if they’re comfortable with it. However, if you find that this is your default pacing strategy, your squad needs to collectively work on pacing intentionally. Getting better doesn’t just happen. Even walking takes practice.
If you find yourself chomping at the bit, try putting on a layer. For some folks it’s easier to regulate based on temperature than pace. Put on one more layers than you normally wear for the temperature and then travel at a pace where you don’t sweat.
No matter how careful your group is, it will eventually happen that someone falls behind. If you notice this happening, speak up and pause your group. When the straggler catches up, don’t just take off again. Rude! Make sure everyone gets a full break and talk as a group about how to stay together or properly spaced on the next leg of travel.
Downhill Techniques
Just like on the uphill, choosing the right method for downhill travel is crucial. You can do all sorts of goofy stuff while riding, like leap-frogging, pinballing, hootin’ and hollerin’, but let’s just keep to the basics. When traveling downhill, we can split up our techniques just as we did for uphill travel: all together, spaced out and one at a time.
All Together
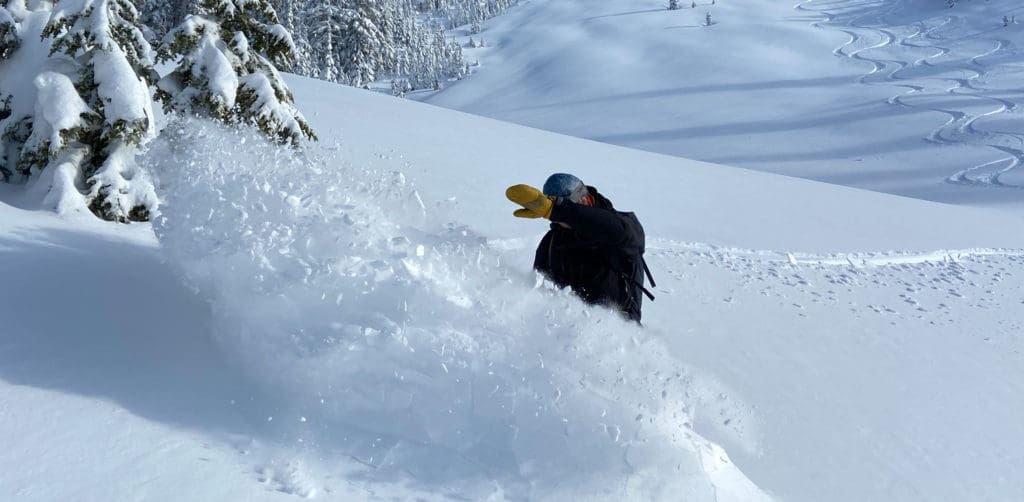
This, my friends, is the party ride. You and your squad all drop in on the same slope at the same time. Why? Because it’s super fun. And other reasons too…
Party riding is a great technique when you are far from avalanche terrain and there’s plenty of room for everyone to shred. The big dangers here are getting lots of people caught in an avalanche, or a mid-slope collision. If either of these are possible, move on to a different technique. Riding all together has the benefit of keeping the group close. If anyone goes down and gets hurt or finds a tree well, you’re all close together and ready to spring into action.
A sub category of riding together would be the buddy system. This works great in the trees, when riding all together may not make sense, but you want the security of having someone with you. For the buddy system, split your squad into groups of two or three, shred with your buddies, then have a pre-determined regrouping spot that’s easy for the whole crew to find.
Spacing Out
For slopes with short steep sections or more confined features, spacing out is a great method. The goal here is to only expose one person at a time to avalanche hazards, so the amount of space between you and the person ahead of you should exceed the length of those features. This also works well for non-avalanche terrain where there’s just not enough room to party ski.

Just like on the uphill spacing, it can be hard for everyone to accurately estimate distance. Try using a number of turns, or a period of time. For example, the person ahead of you makes three turns, then you ride. Or, the person ahead of you takes off and you wait 5 seconds.
When riding spaced out, it’s good for everyone to ride at similar paces or that spacing gets all messed up and people end up on top of each other. If your crew just can’t do it, this isn’t the right travel practice. No problem! You can always default to riding one at a time.
One At A Time
This should be everyone’s default group downhill travel practice. Riding one at a time is the safest way to travel downhill through avalanche terrain besides total avoidance. The concept is a simple one. The first person drops in, rides a slope, and stops in a safe spot. Repeat until all members of the group are back together at the bottom of the run.
This is not the best technique if visibility is an issue, such as in bad weather or tight trees. Again, radios can be helpful, but you will want to have a backup if the radio fails you. This technique gives you the opportunity to have the whole crew watch everyone ride. Take that opportunity! The backcountry is a serious place. Respect your partners by quietly and carefully watching them ride a slope. If anything happens, you’ll be glad you were paying attention.
There are a TON of ways to travel downhill, and most of them are variations on the above three practices. Make sure you practice these techniques as a crew before bedazzling them up with little tricks. The best places to practice are on mellow open slopes where line of sight is guaranteed. The next best place to practice is… wherever you are riding! Things happen fast on the downhill and mistakes become obvious quick. Take every opportunity to learn along the way and you’ll just get better and better at skiing with your friends.
Making a travel plan is an important part of every day in the backcountry. These techniques will help you move efficiently, purposefully and with a greater margin of safety. Make sure you’re talking clearly with your group about how you are moving through the backcountry. If you’re looking to level up your group travel, consider hiring a guide to show you some more advanced techniques and check out the Backcountry Skiing Guide for more information!

